
Miter Clamp
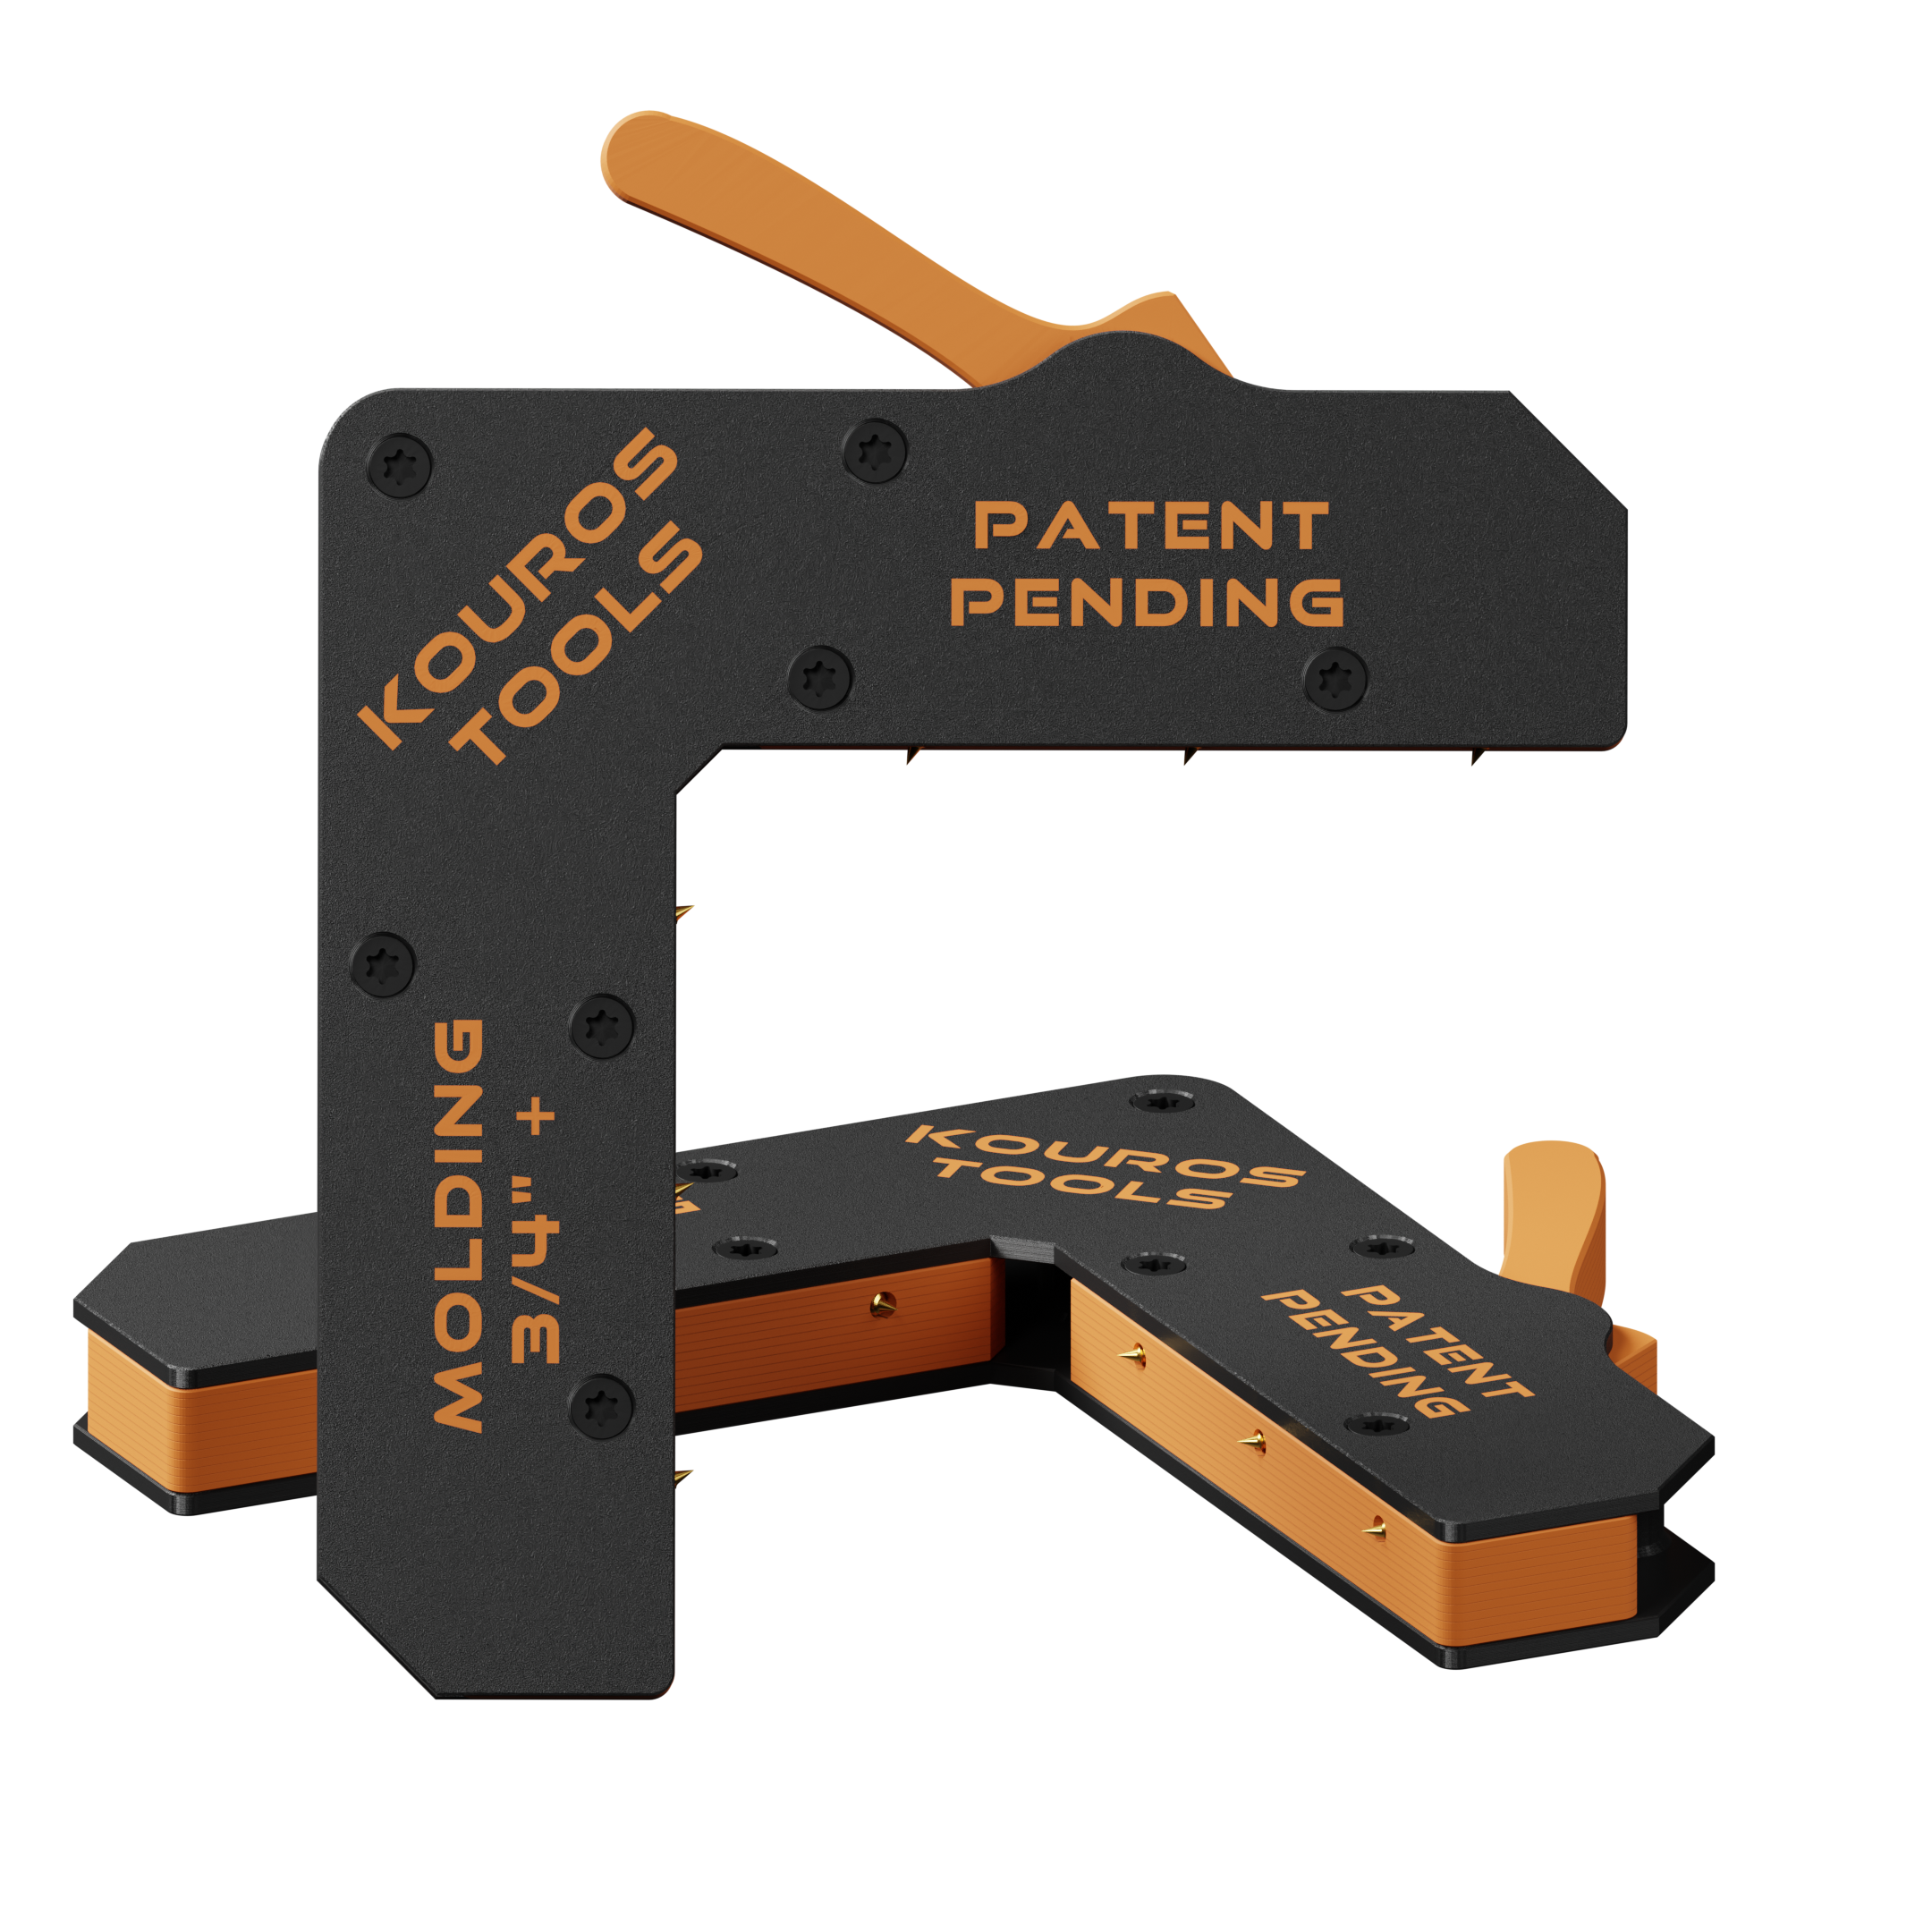


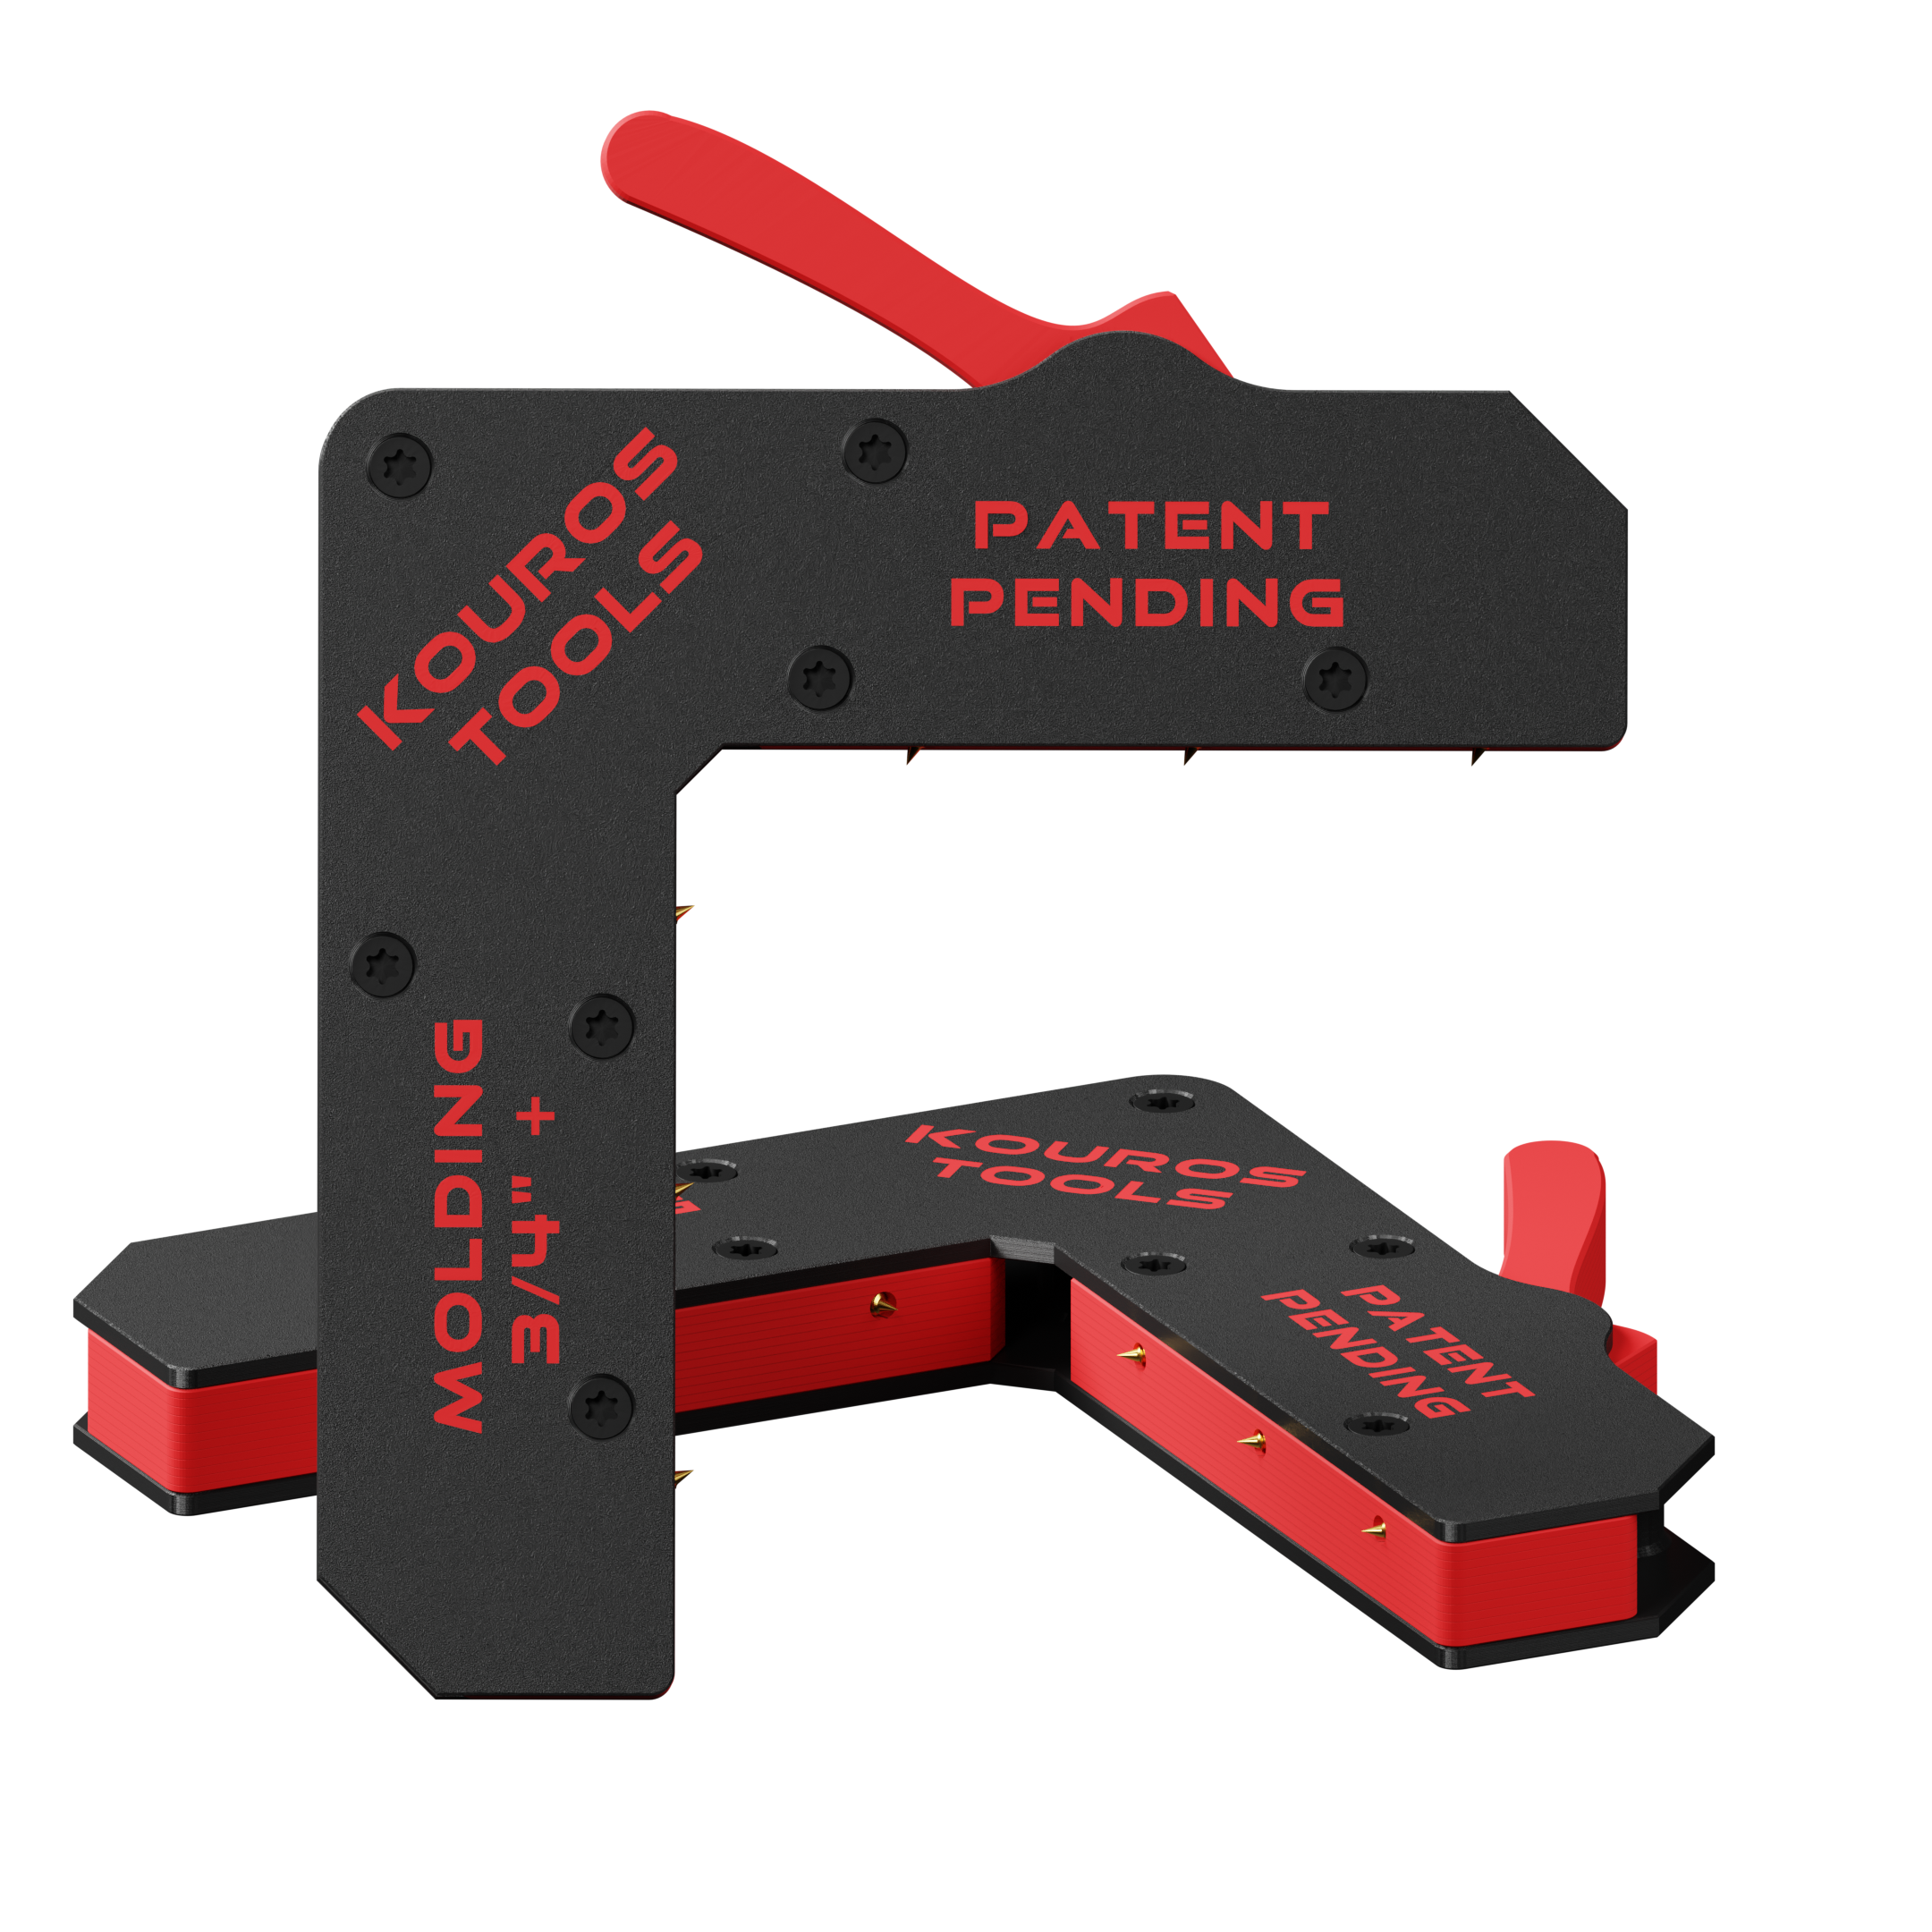


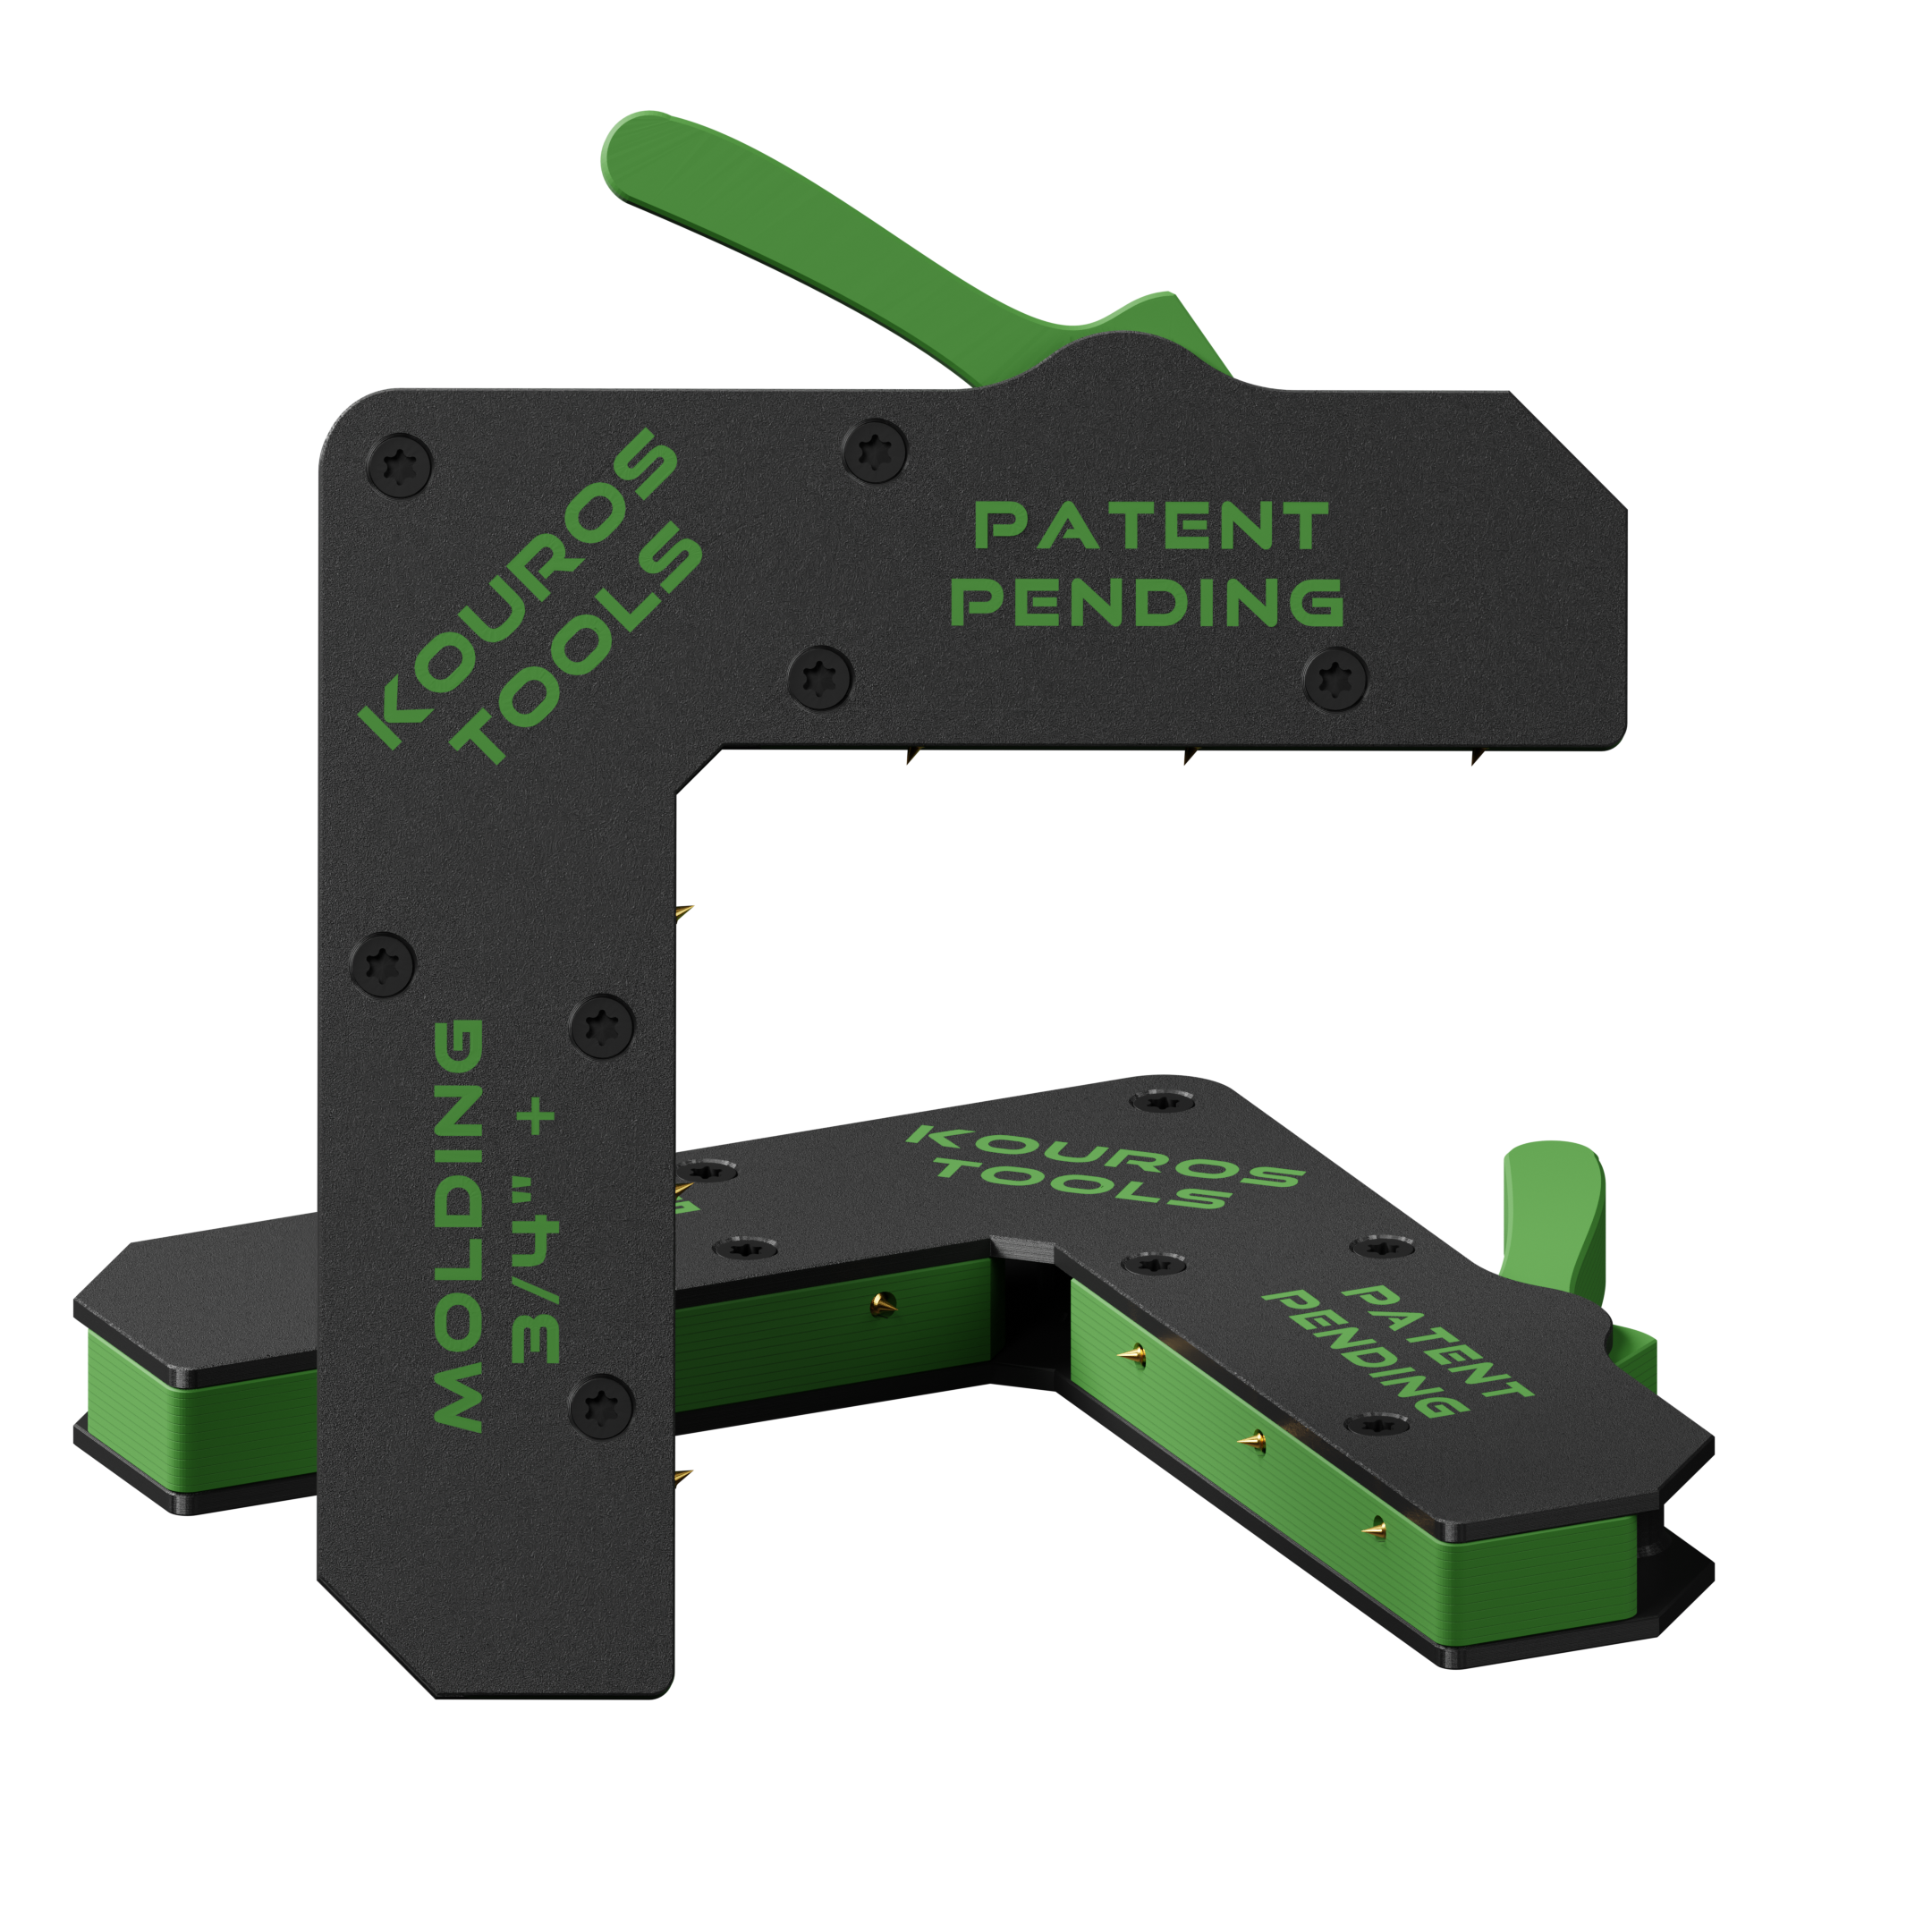


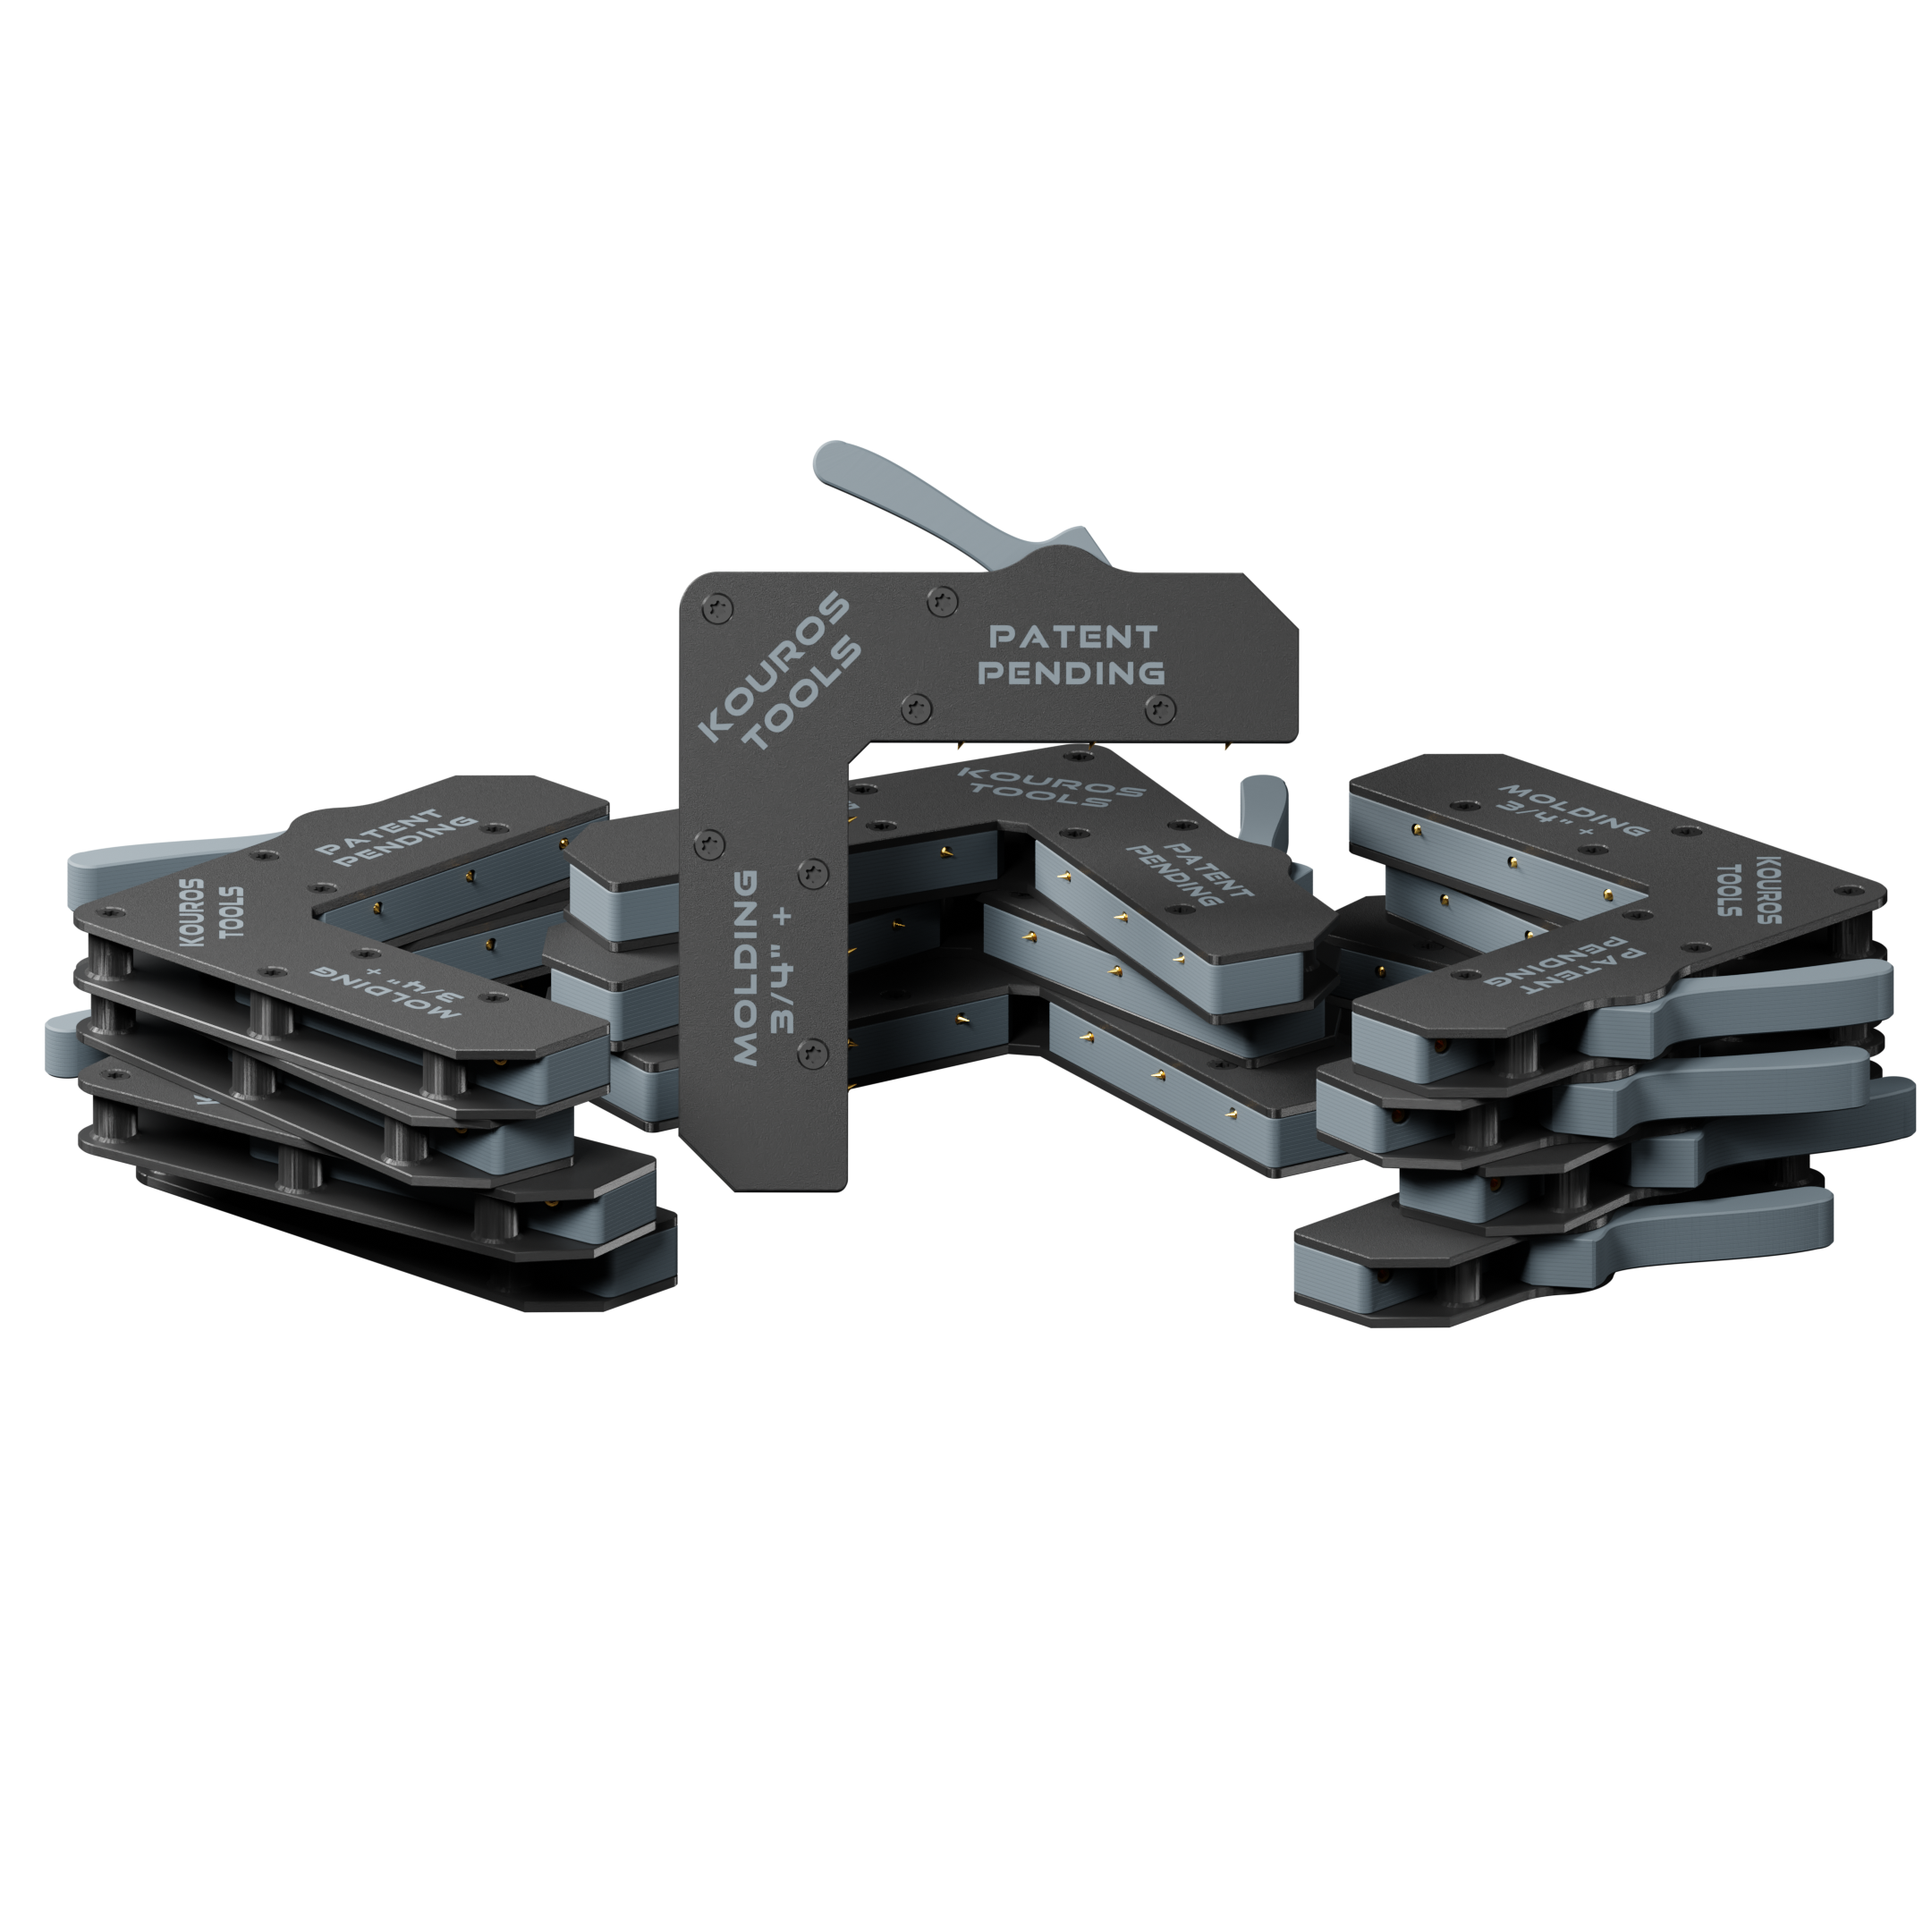


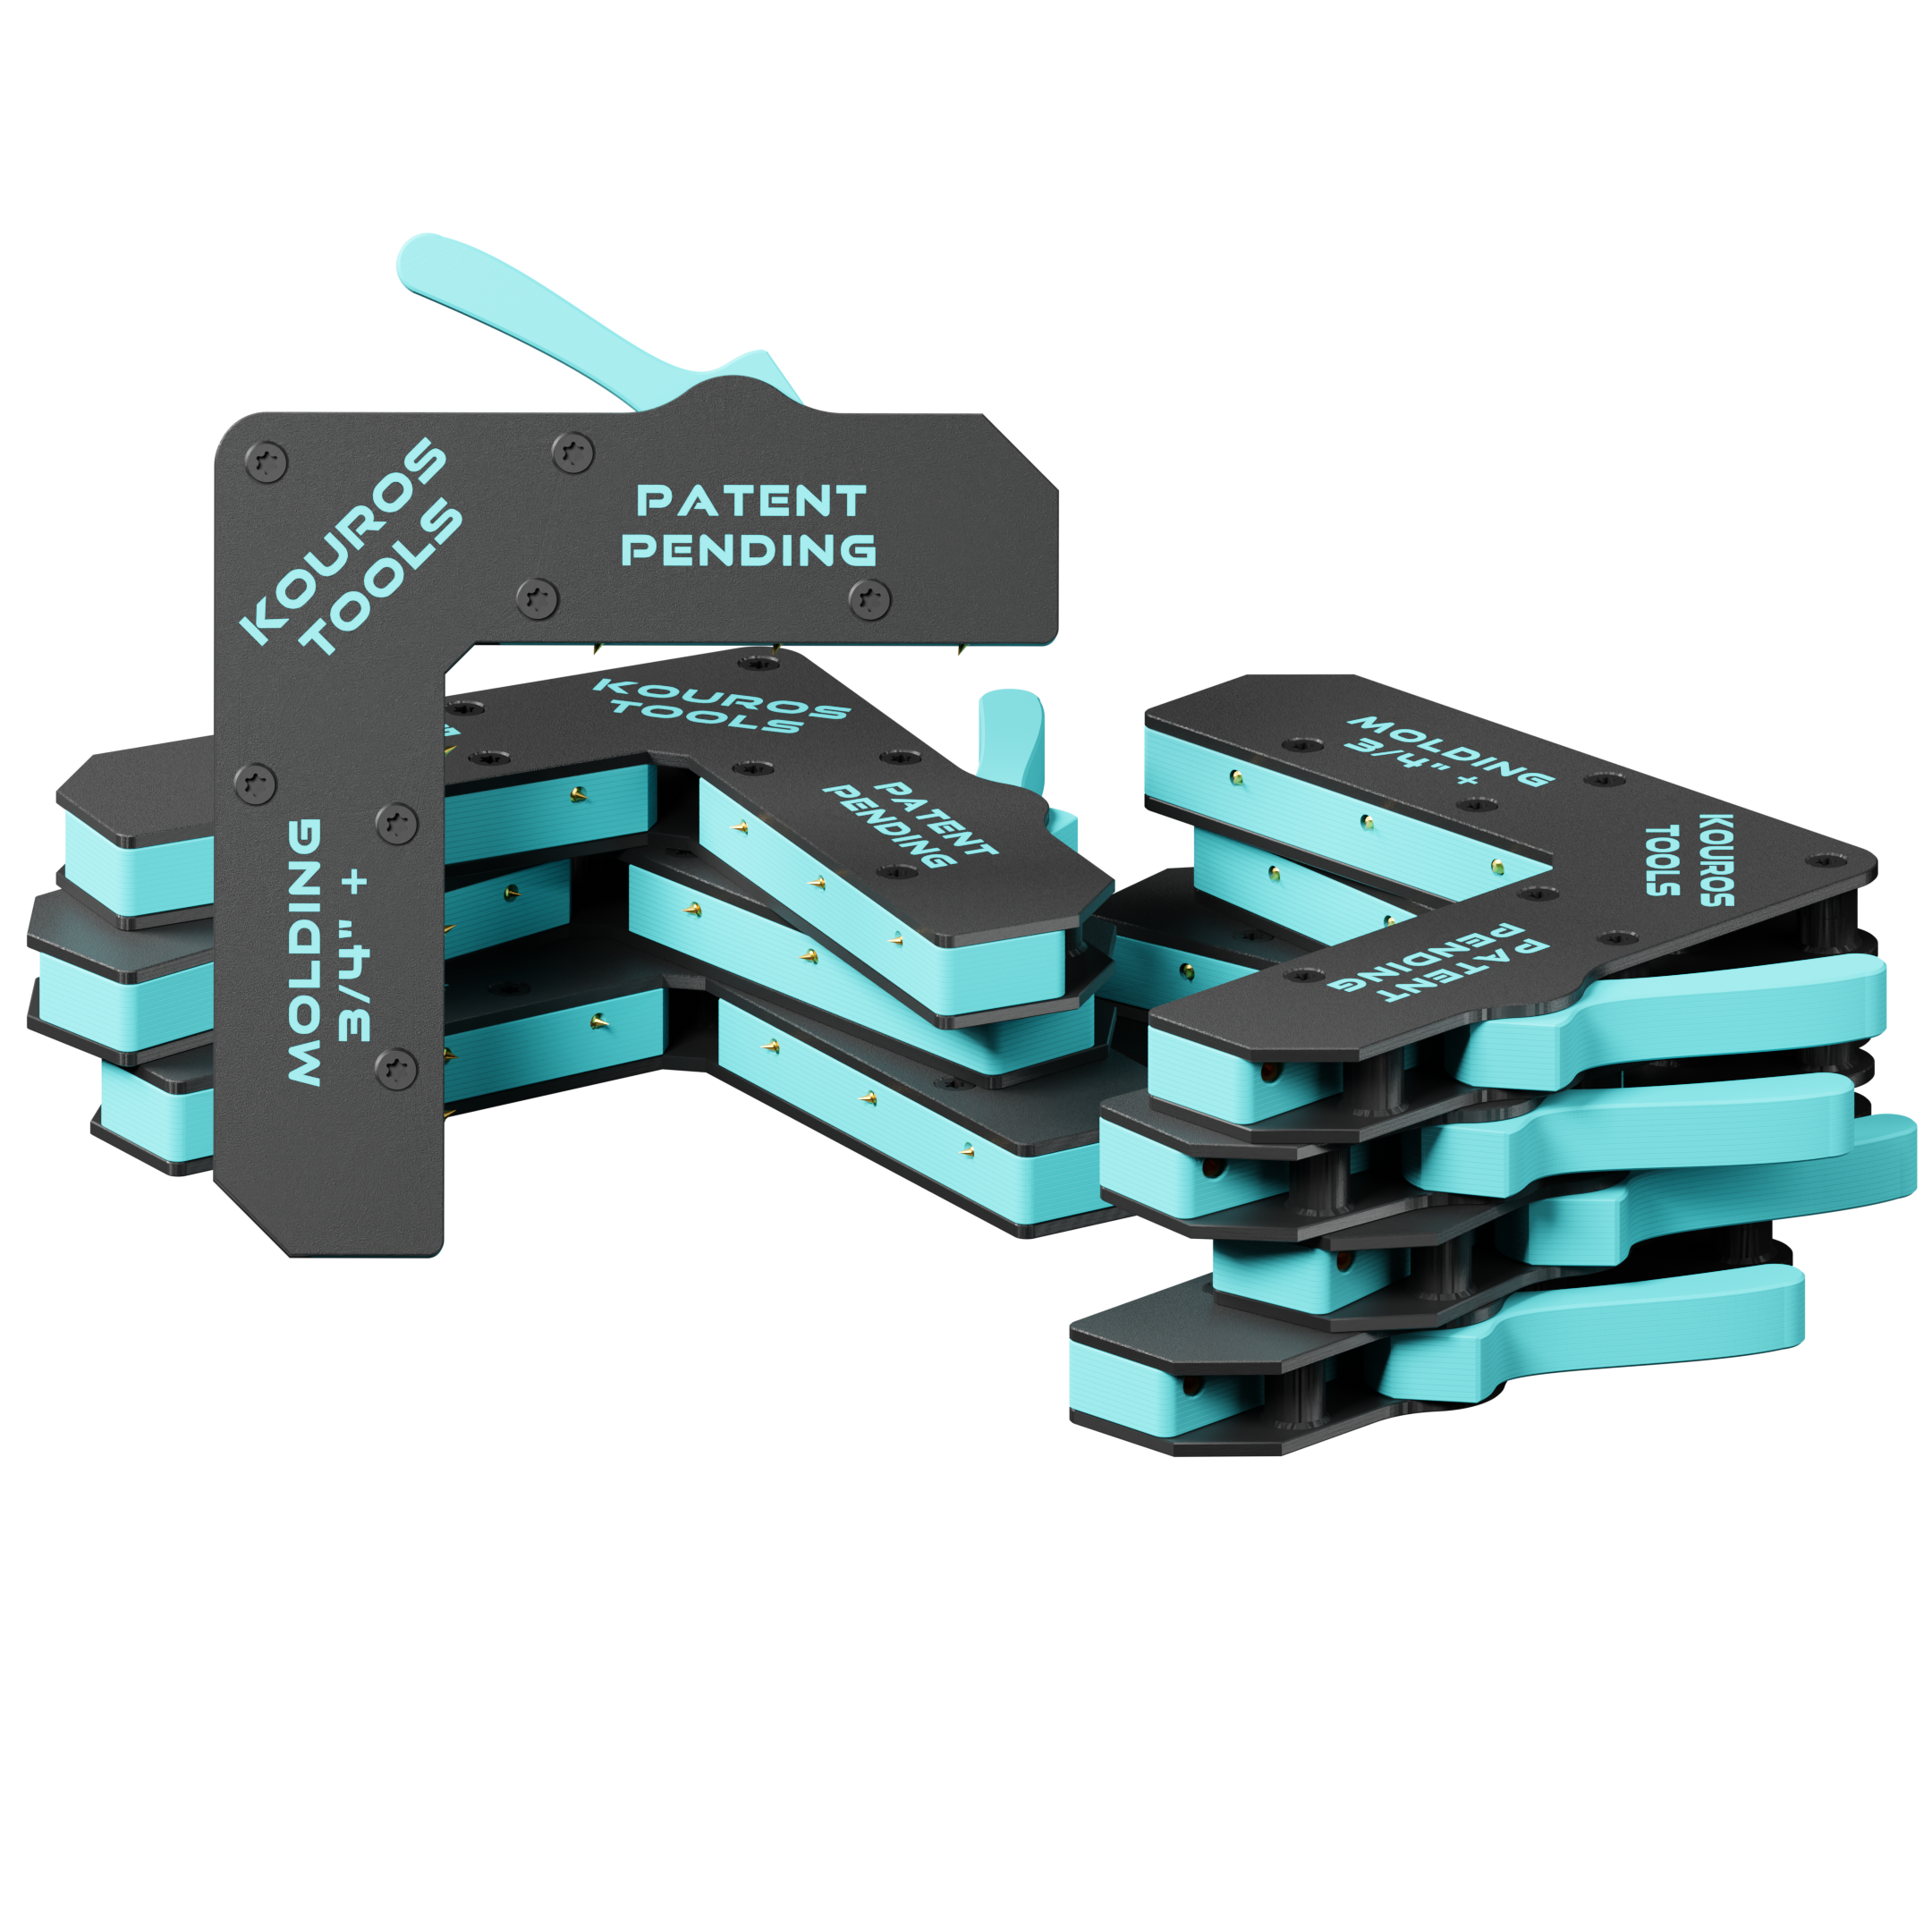

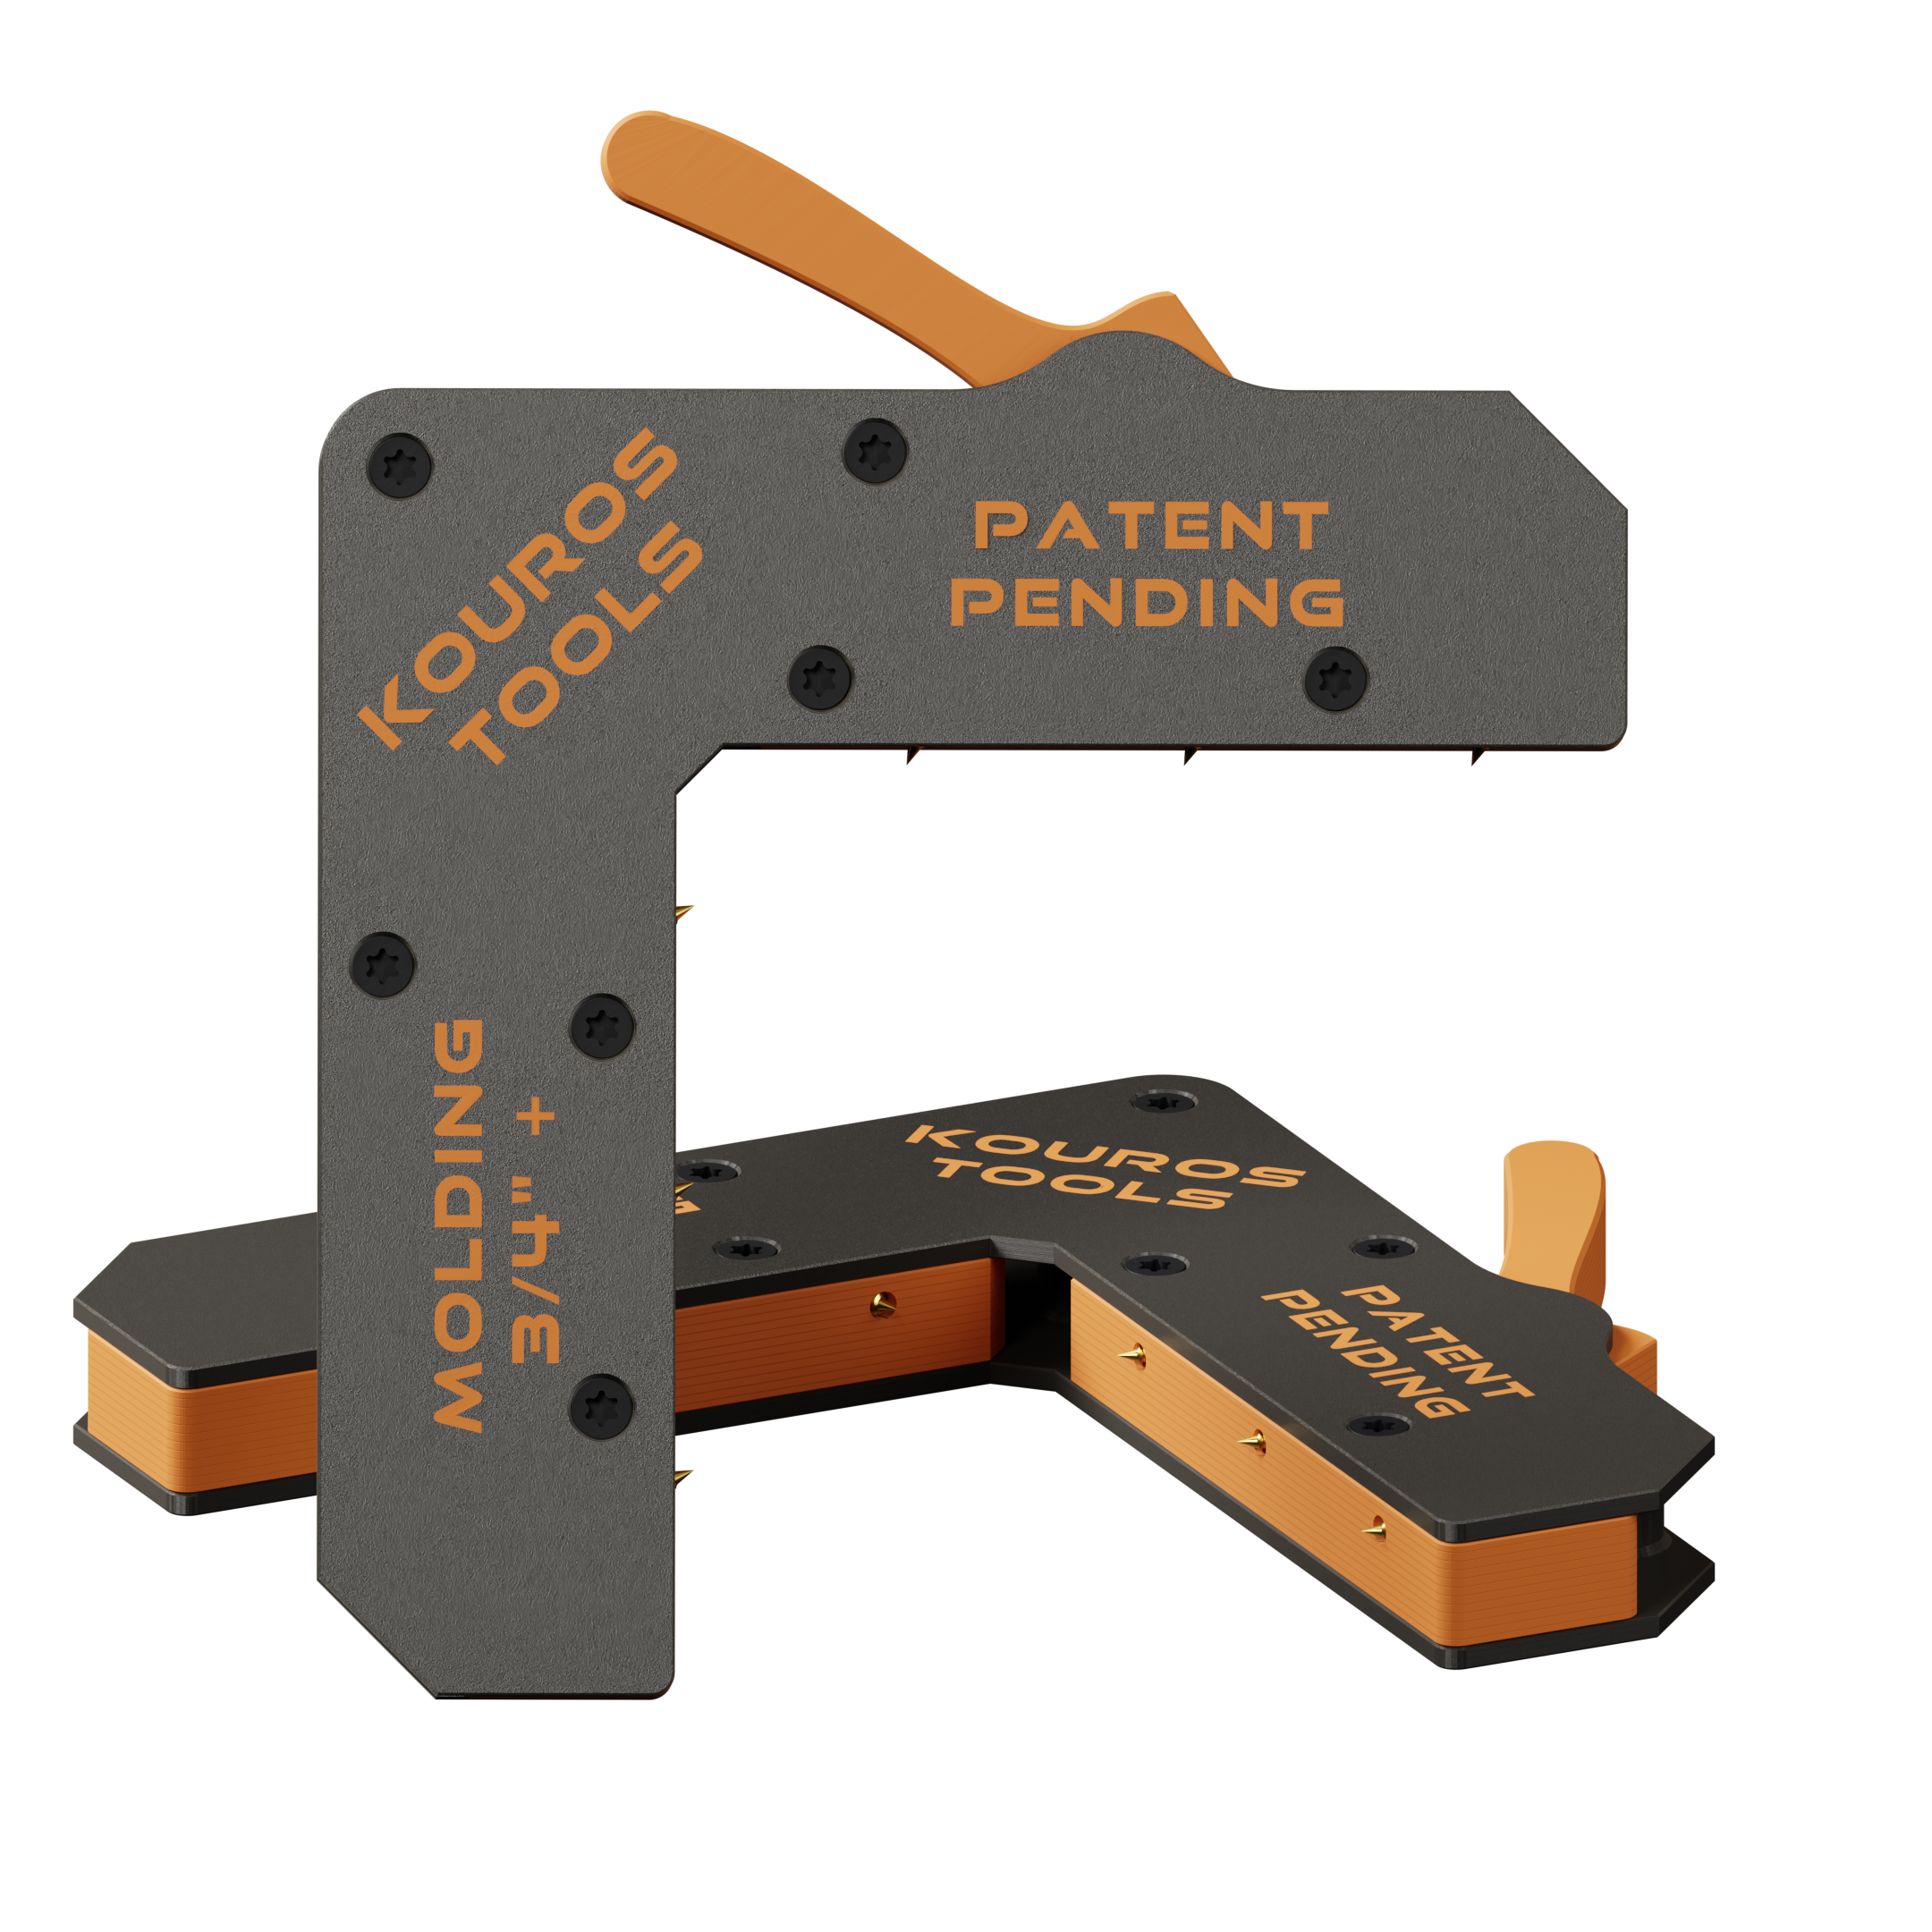


1. Miter Clamp Use Guide
This Page is dedicated to keeping you up to date with the most relevant information on the miter clamp:
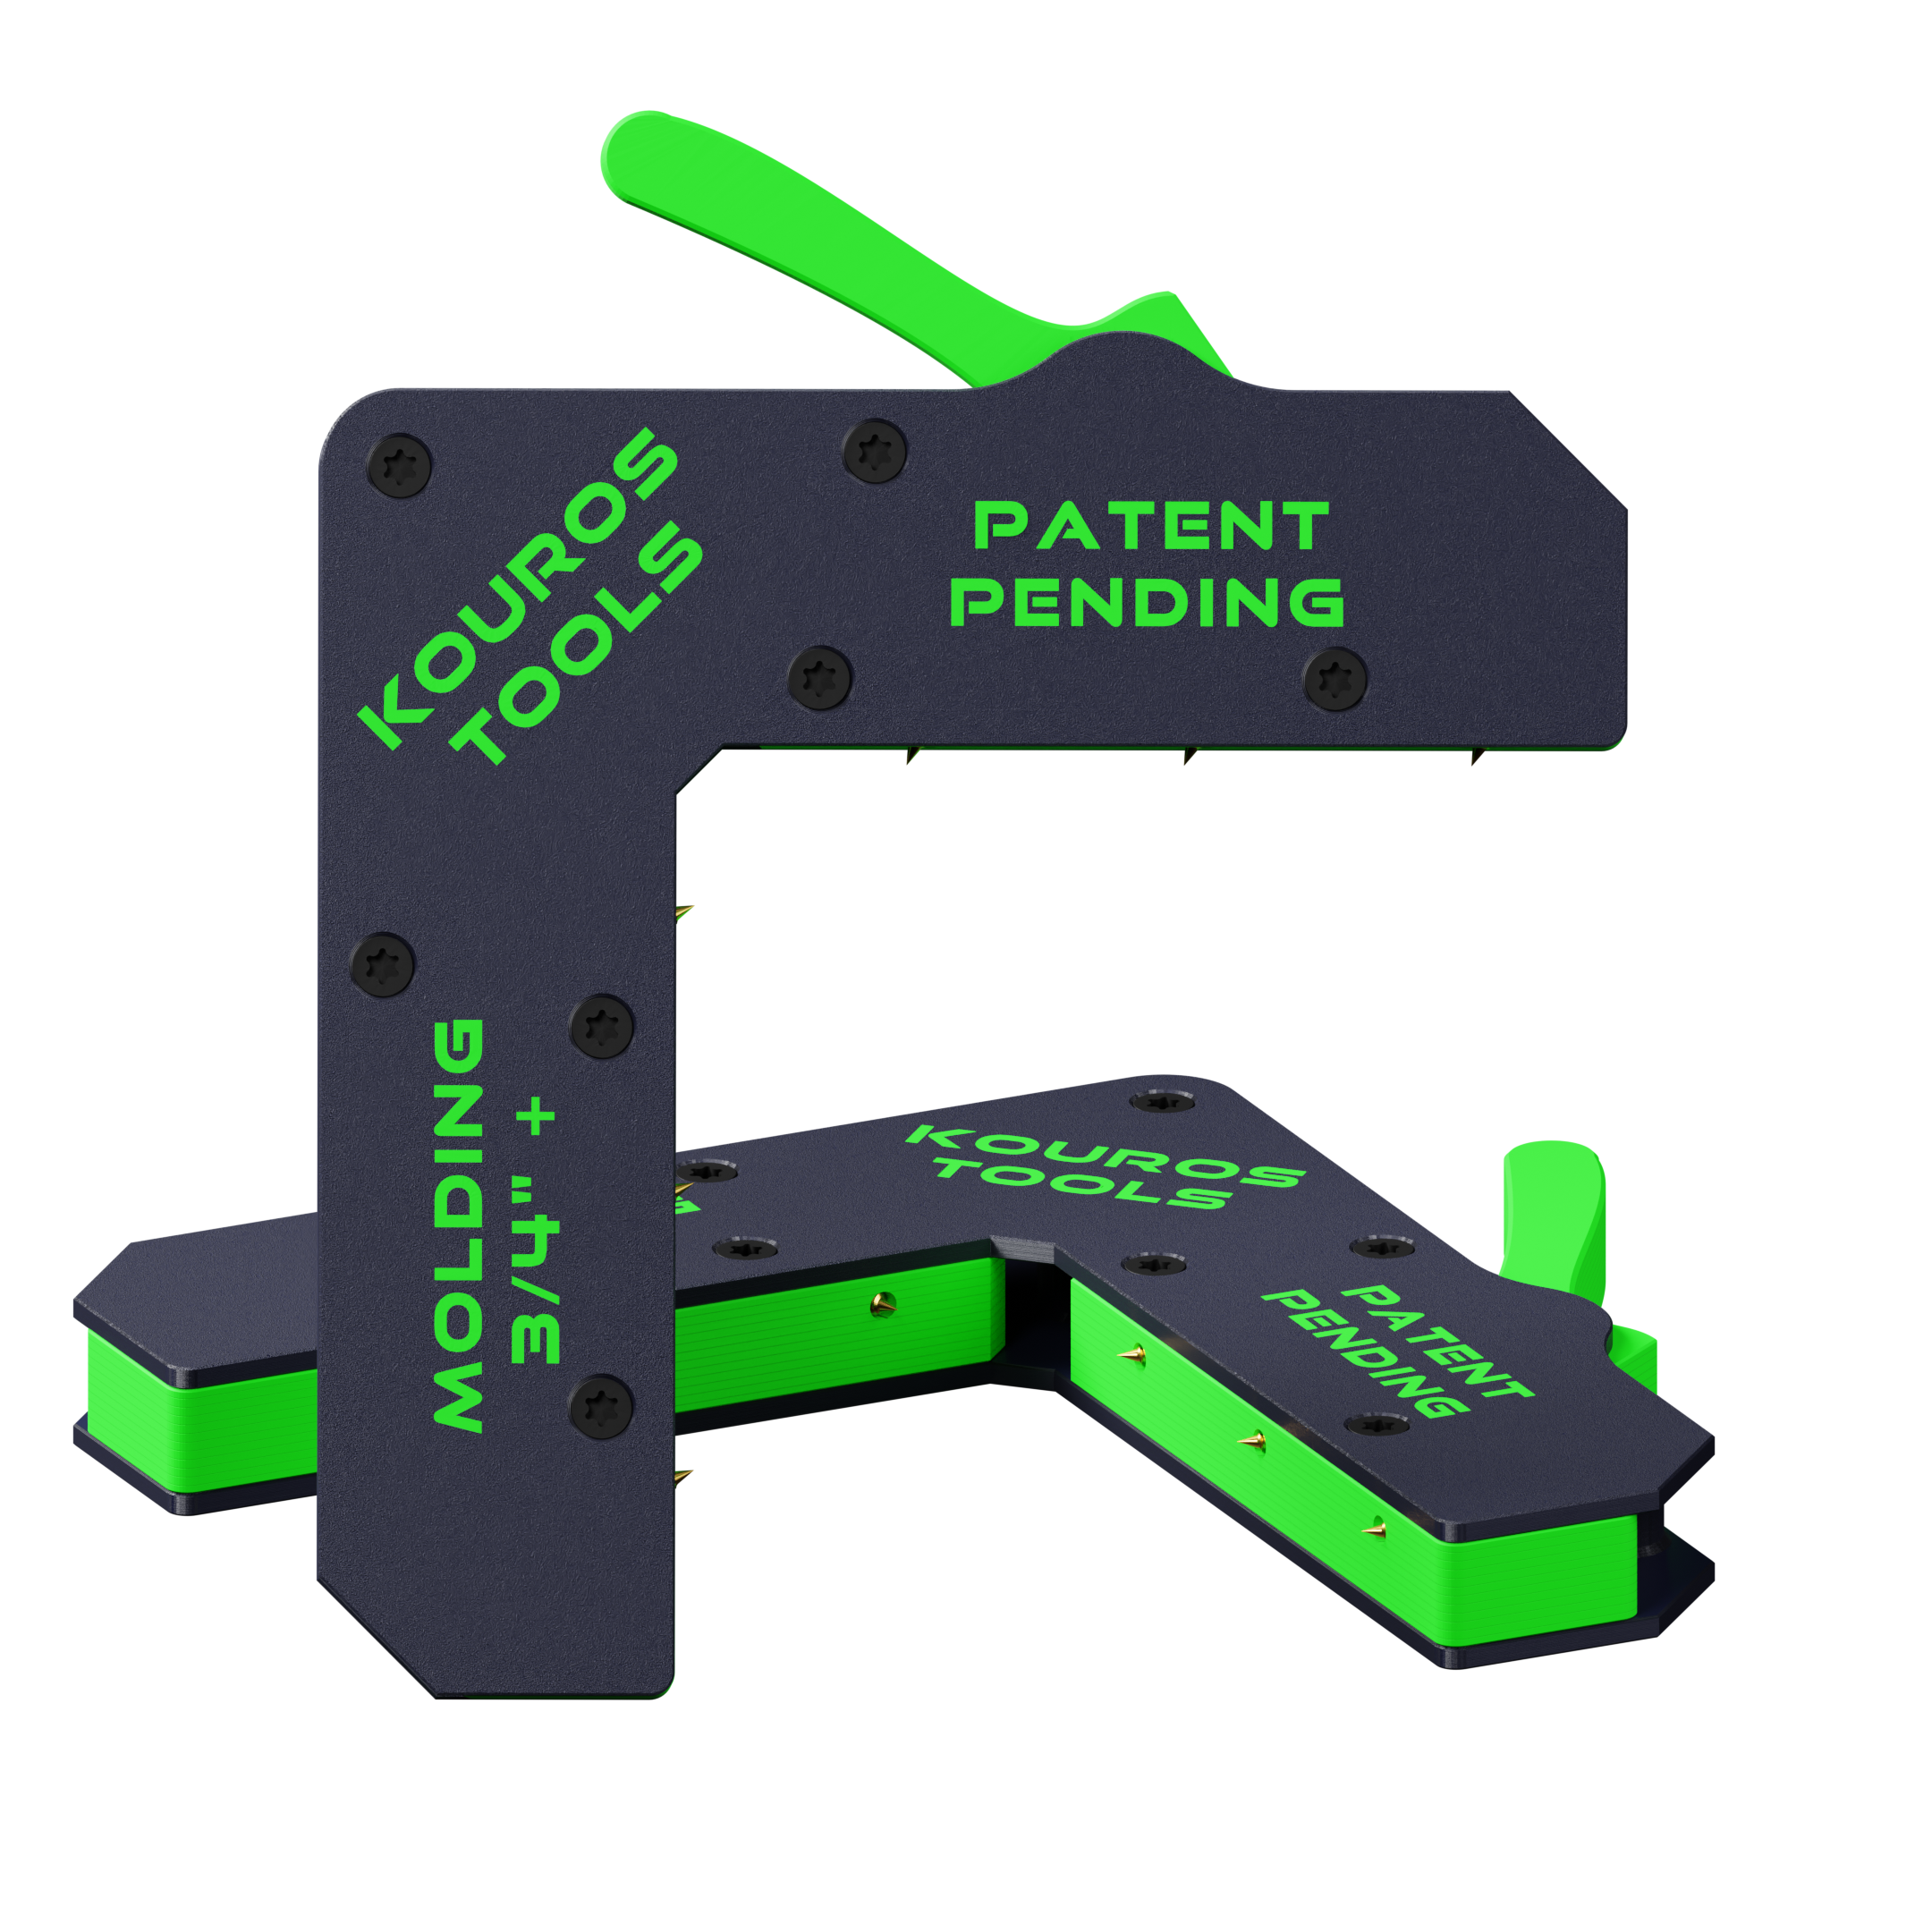
-Ideal for molding widths of 3.5” and thinner
-Accommodates Clamping molding 1/2"-1 1/8” thick moldings
-Light Weight - 6oz
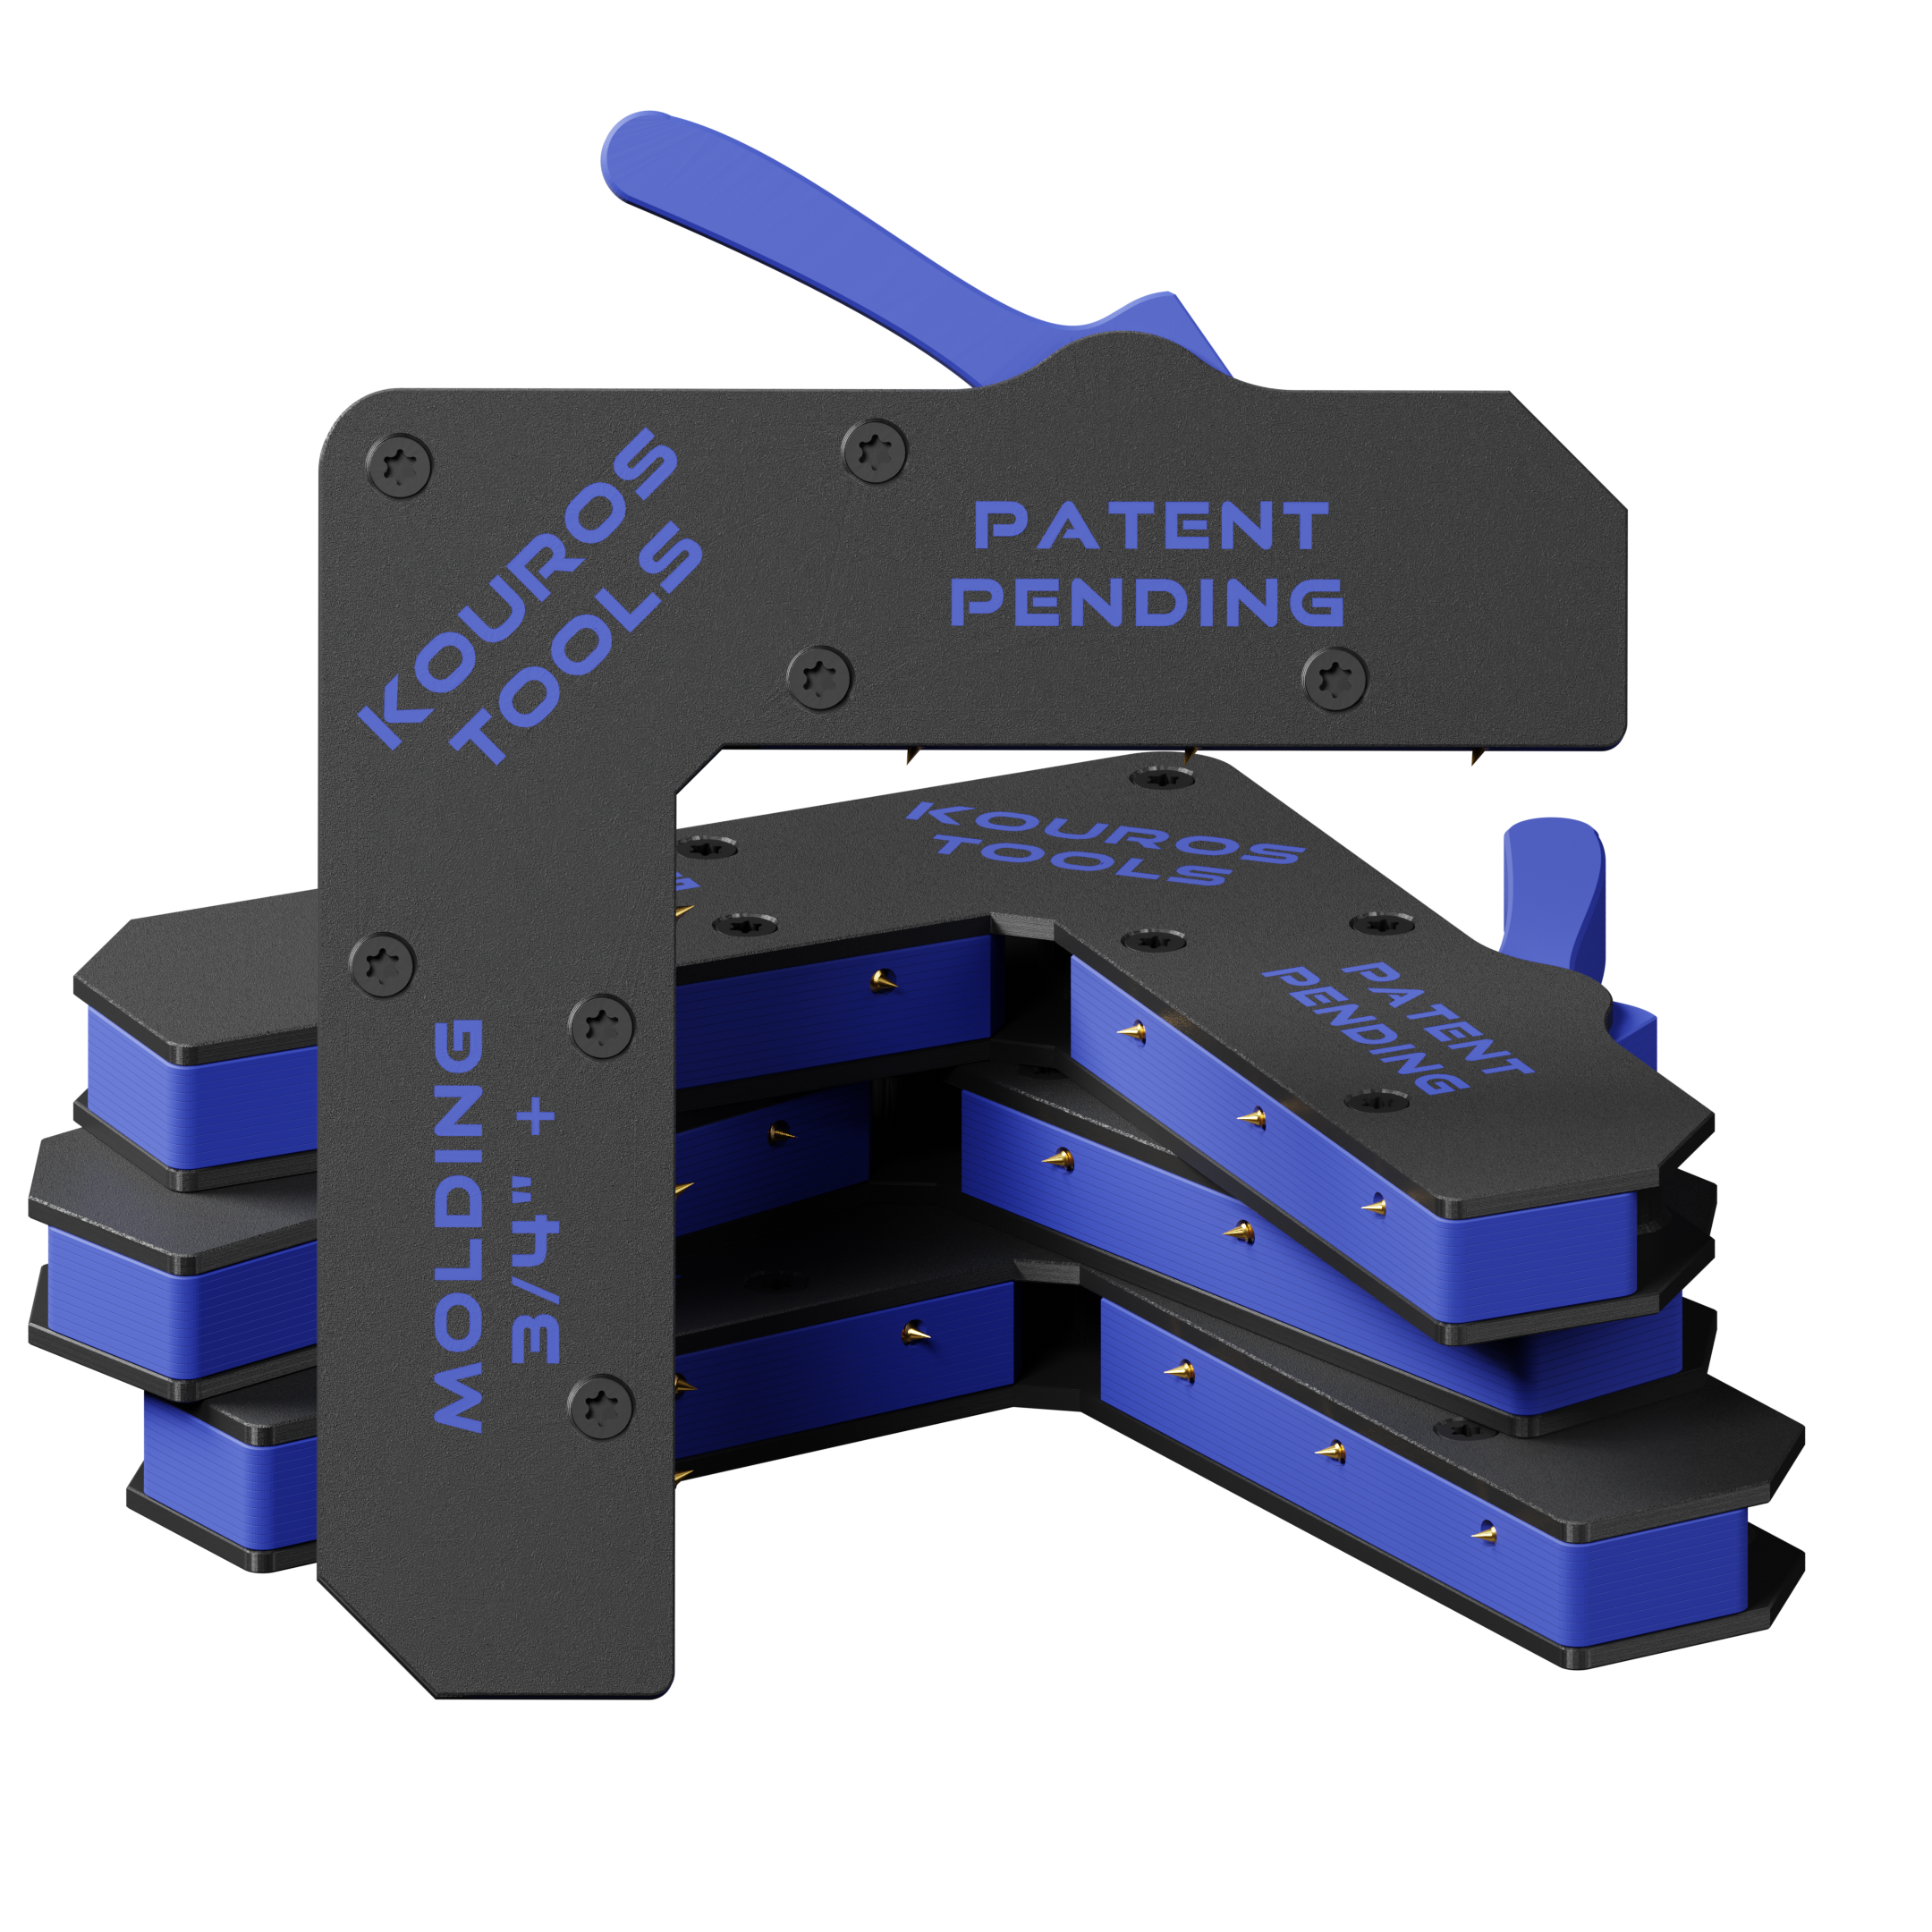
-Utilizes the tip of a screw to leave minimal marks
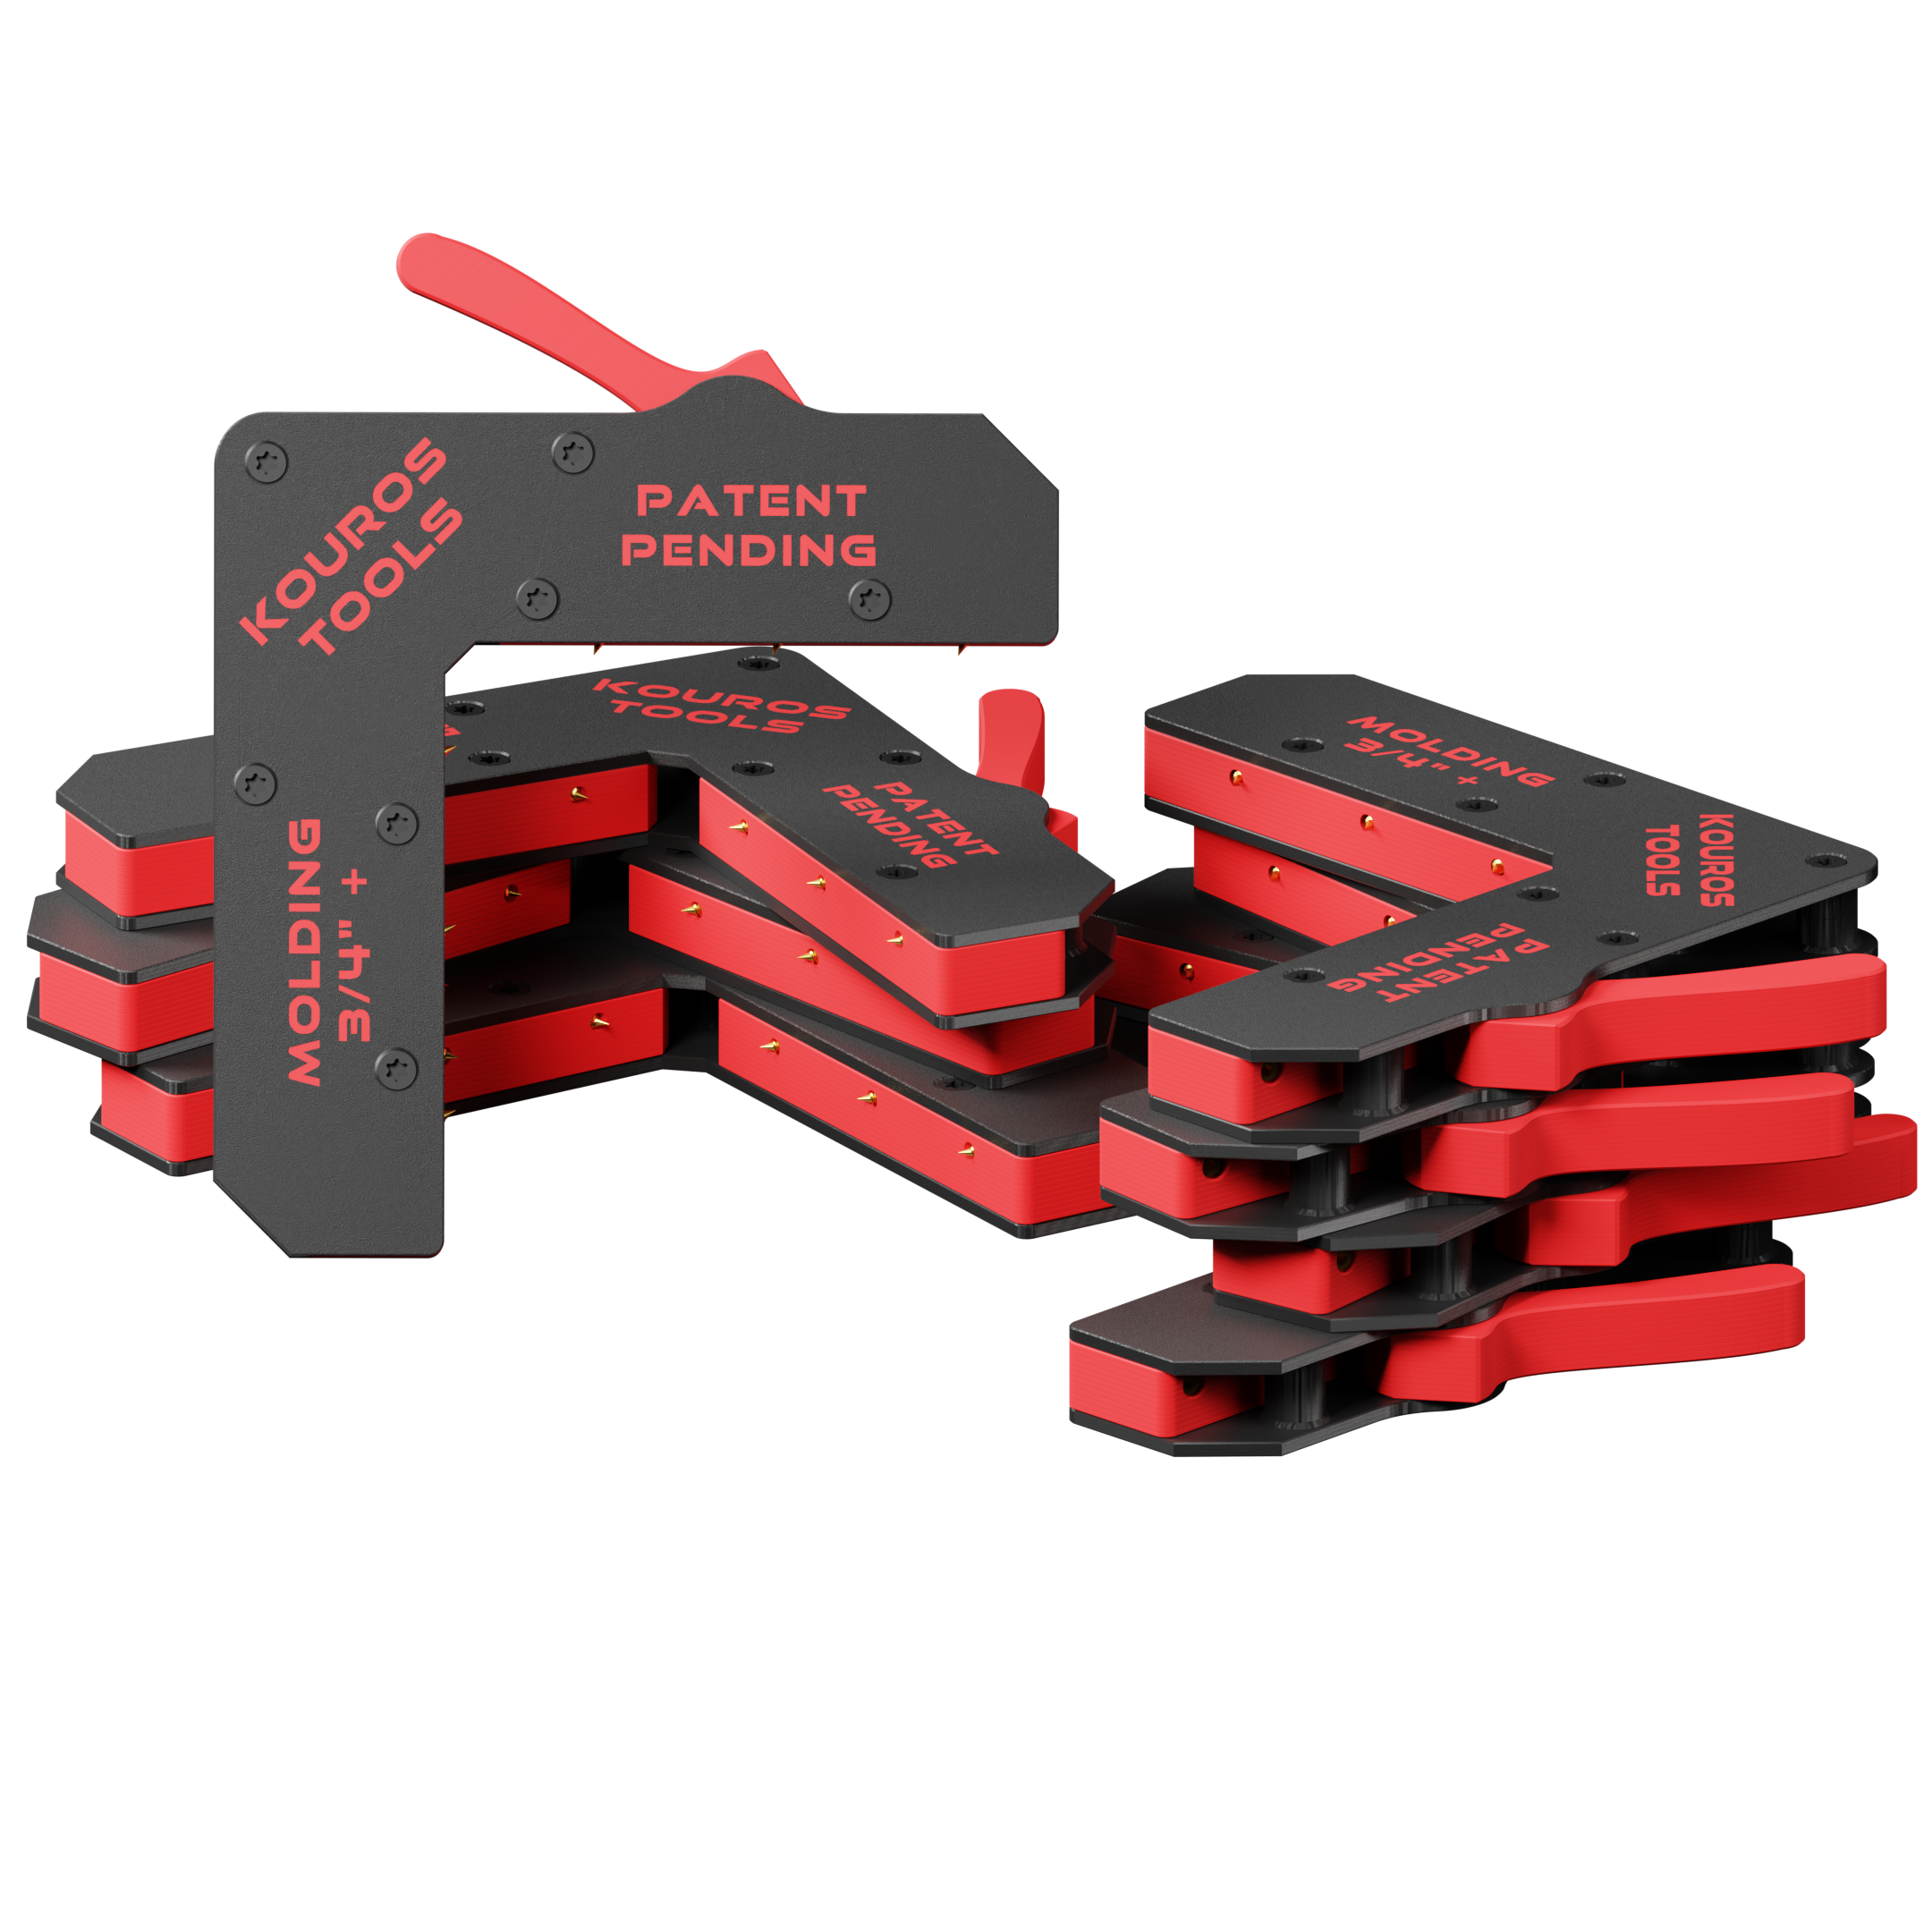
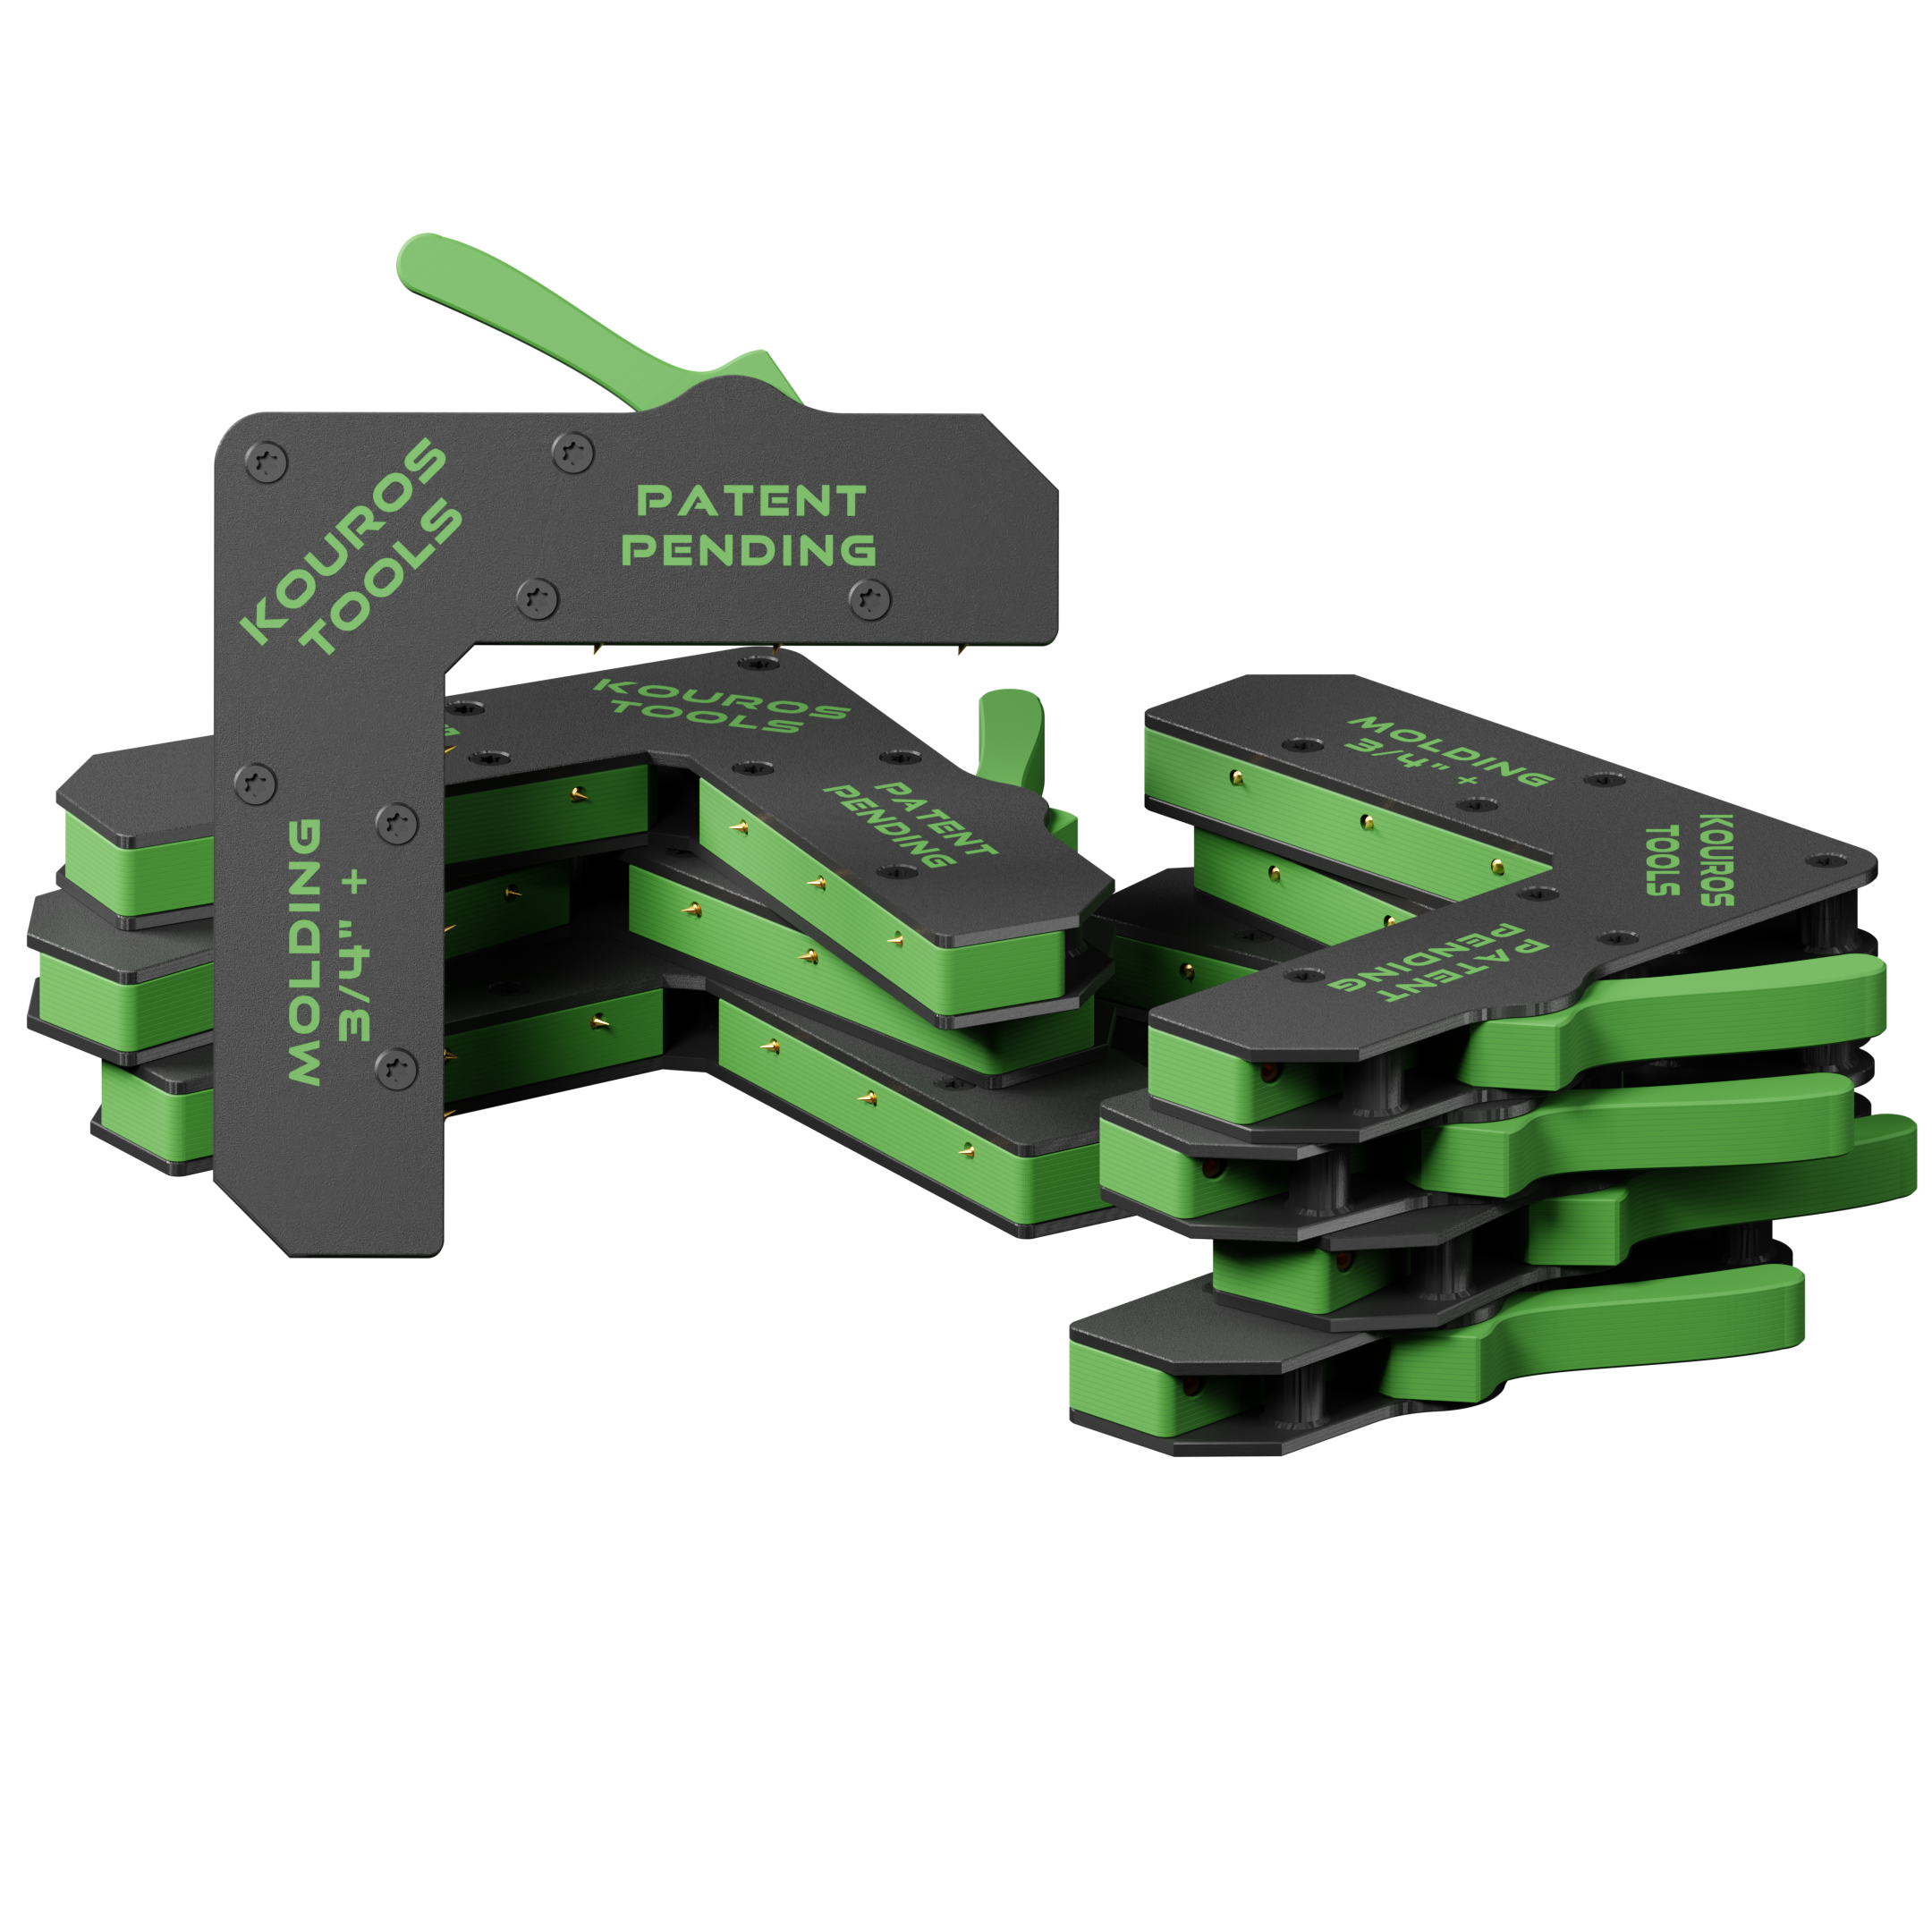
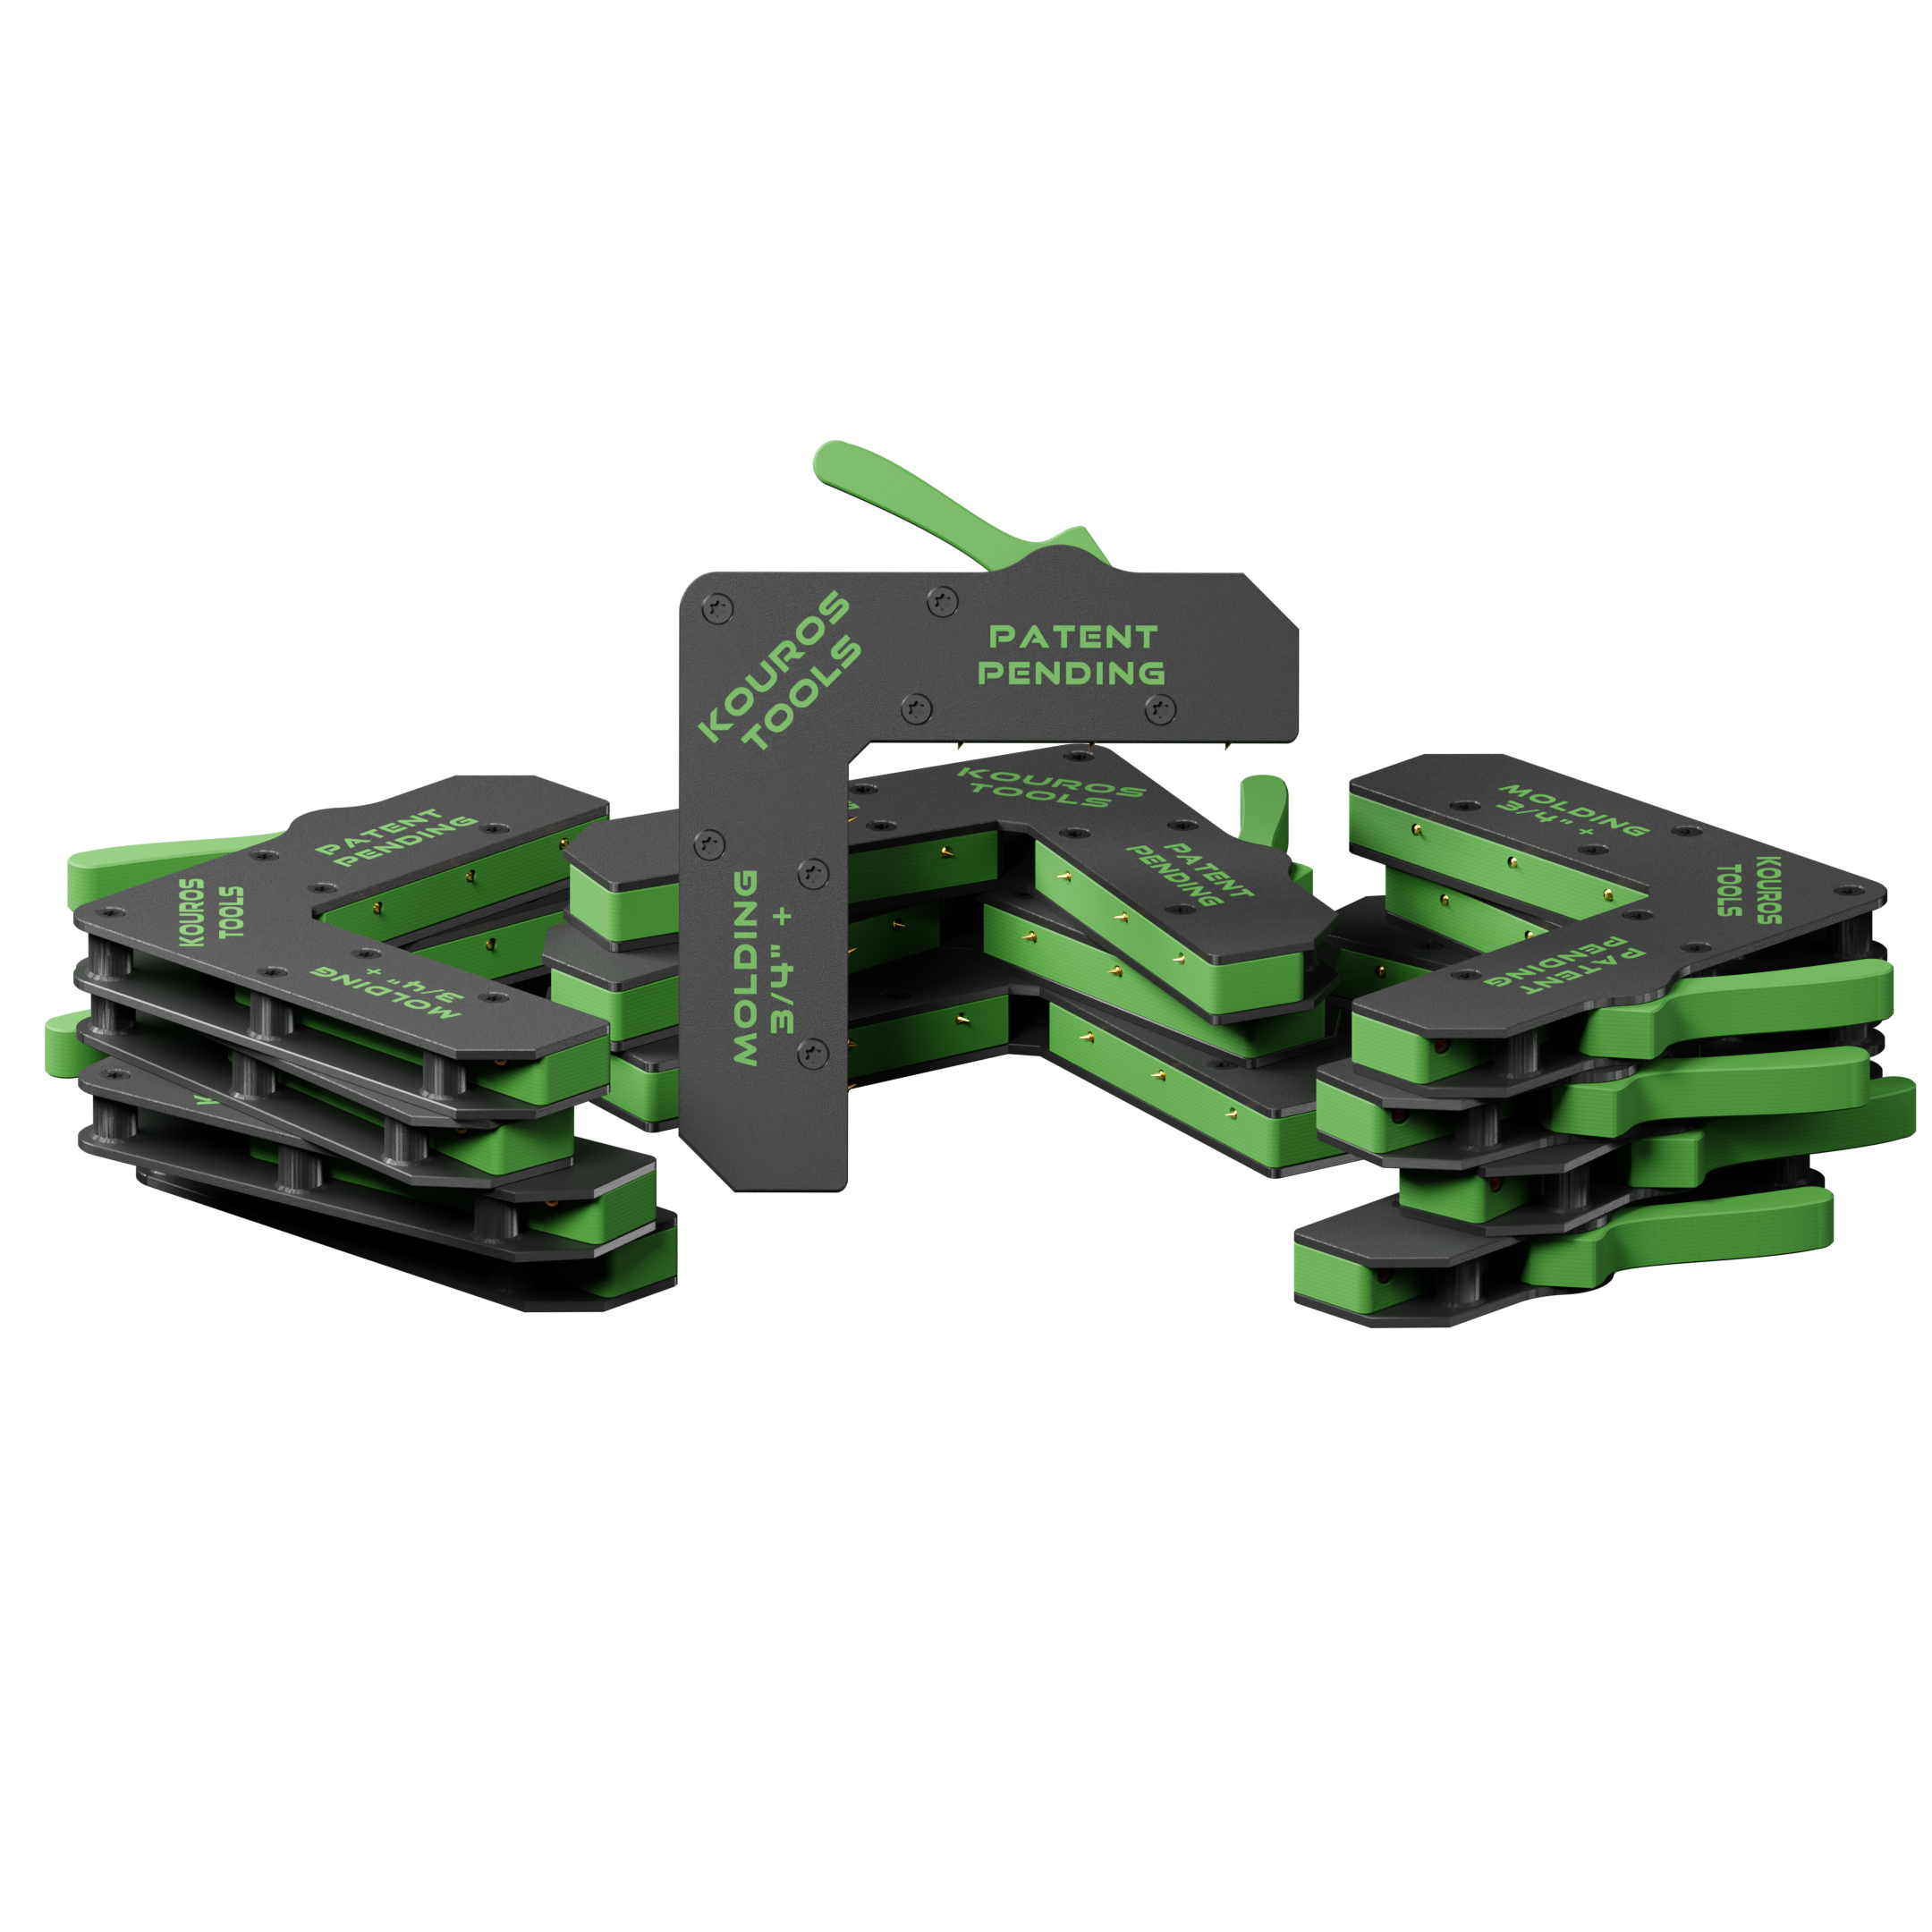
-Lays flat on either side - and can be stacked to save space when stored away
-The positive stop on the locking lever means it clamps tighter than your Aunt Carol’s holiday hugs.
-Manufactured here, in-house - proudly made in the USA (Made in Chicago BAAAABYYYY! )
2. maintenance & Adjustments
Basic Miter Clamp Maintenance (Because Even Clamps Deserve Love)
- Lube it Up: Use a synthetic lubricant or one specifically made for plastic. It's like giving your clamp a spa day—smooth, relaxed, and ready for action. Don't cheap out with olive oil from your kitchen.
- How to Apply the Lube: Watch this video below. Don’t pretend you know how to do it; we both know you're just guessing and making a mess.
- Get Screwy (with a T10 Screw): Adjustable T10 screws are your secret weapon for controlling the pressure on your miter joint. More pressure? Less pressure? Your call. Just don’t strip the screws—this isn’t a gym workout.
- Friction is Your Friend: There's an adjustable screw on the side to set the lever's friction. Dial it in to avoid accidental clamp flops—because nobody wants a miter clamp having a mid-project meltdown.